DIY Guide for LEGO Photography
/We all like looking at cool pictures of LEGO online, but do you need to know the difference between F-stops and apertures, or need to spend your entire LEGO budget for the year on photography equipment? No, you don’t!
Good equipment and knowledge will definitely help you up your game—and advanced photography may be something one of my fellow BrickNerd crew (who are way better than I am) may write about in the future. But here are some thoughts to get you started from an OK LEGO photographer.
Everything You Need
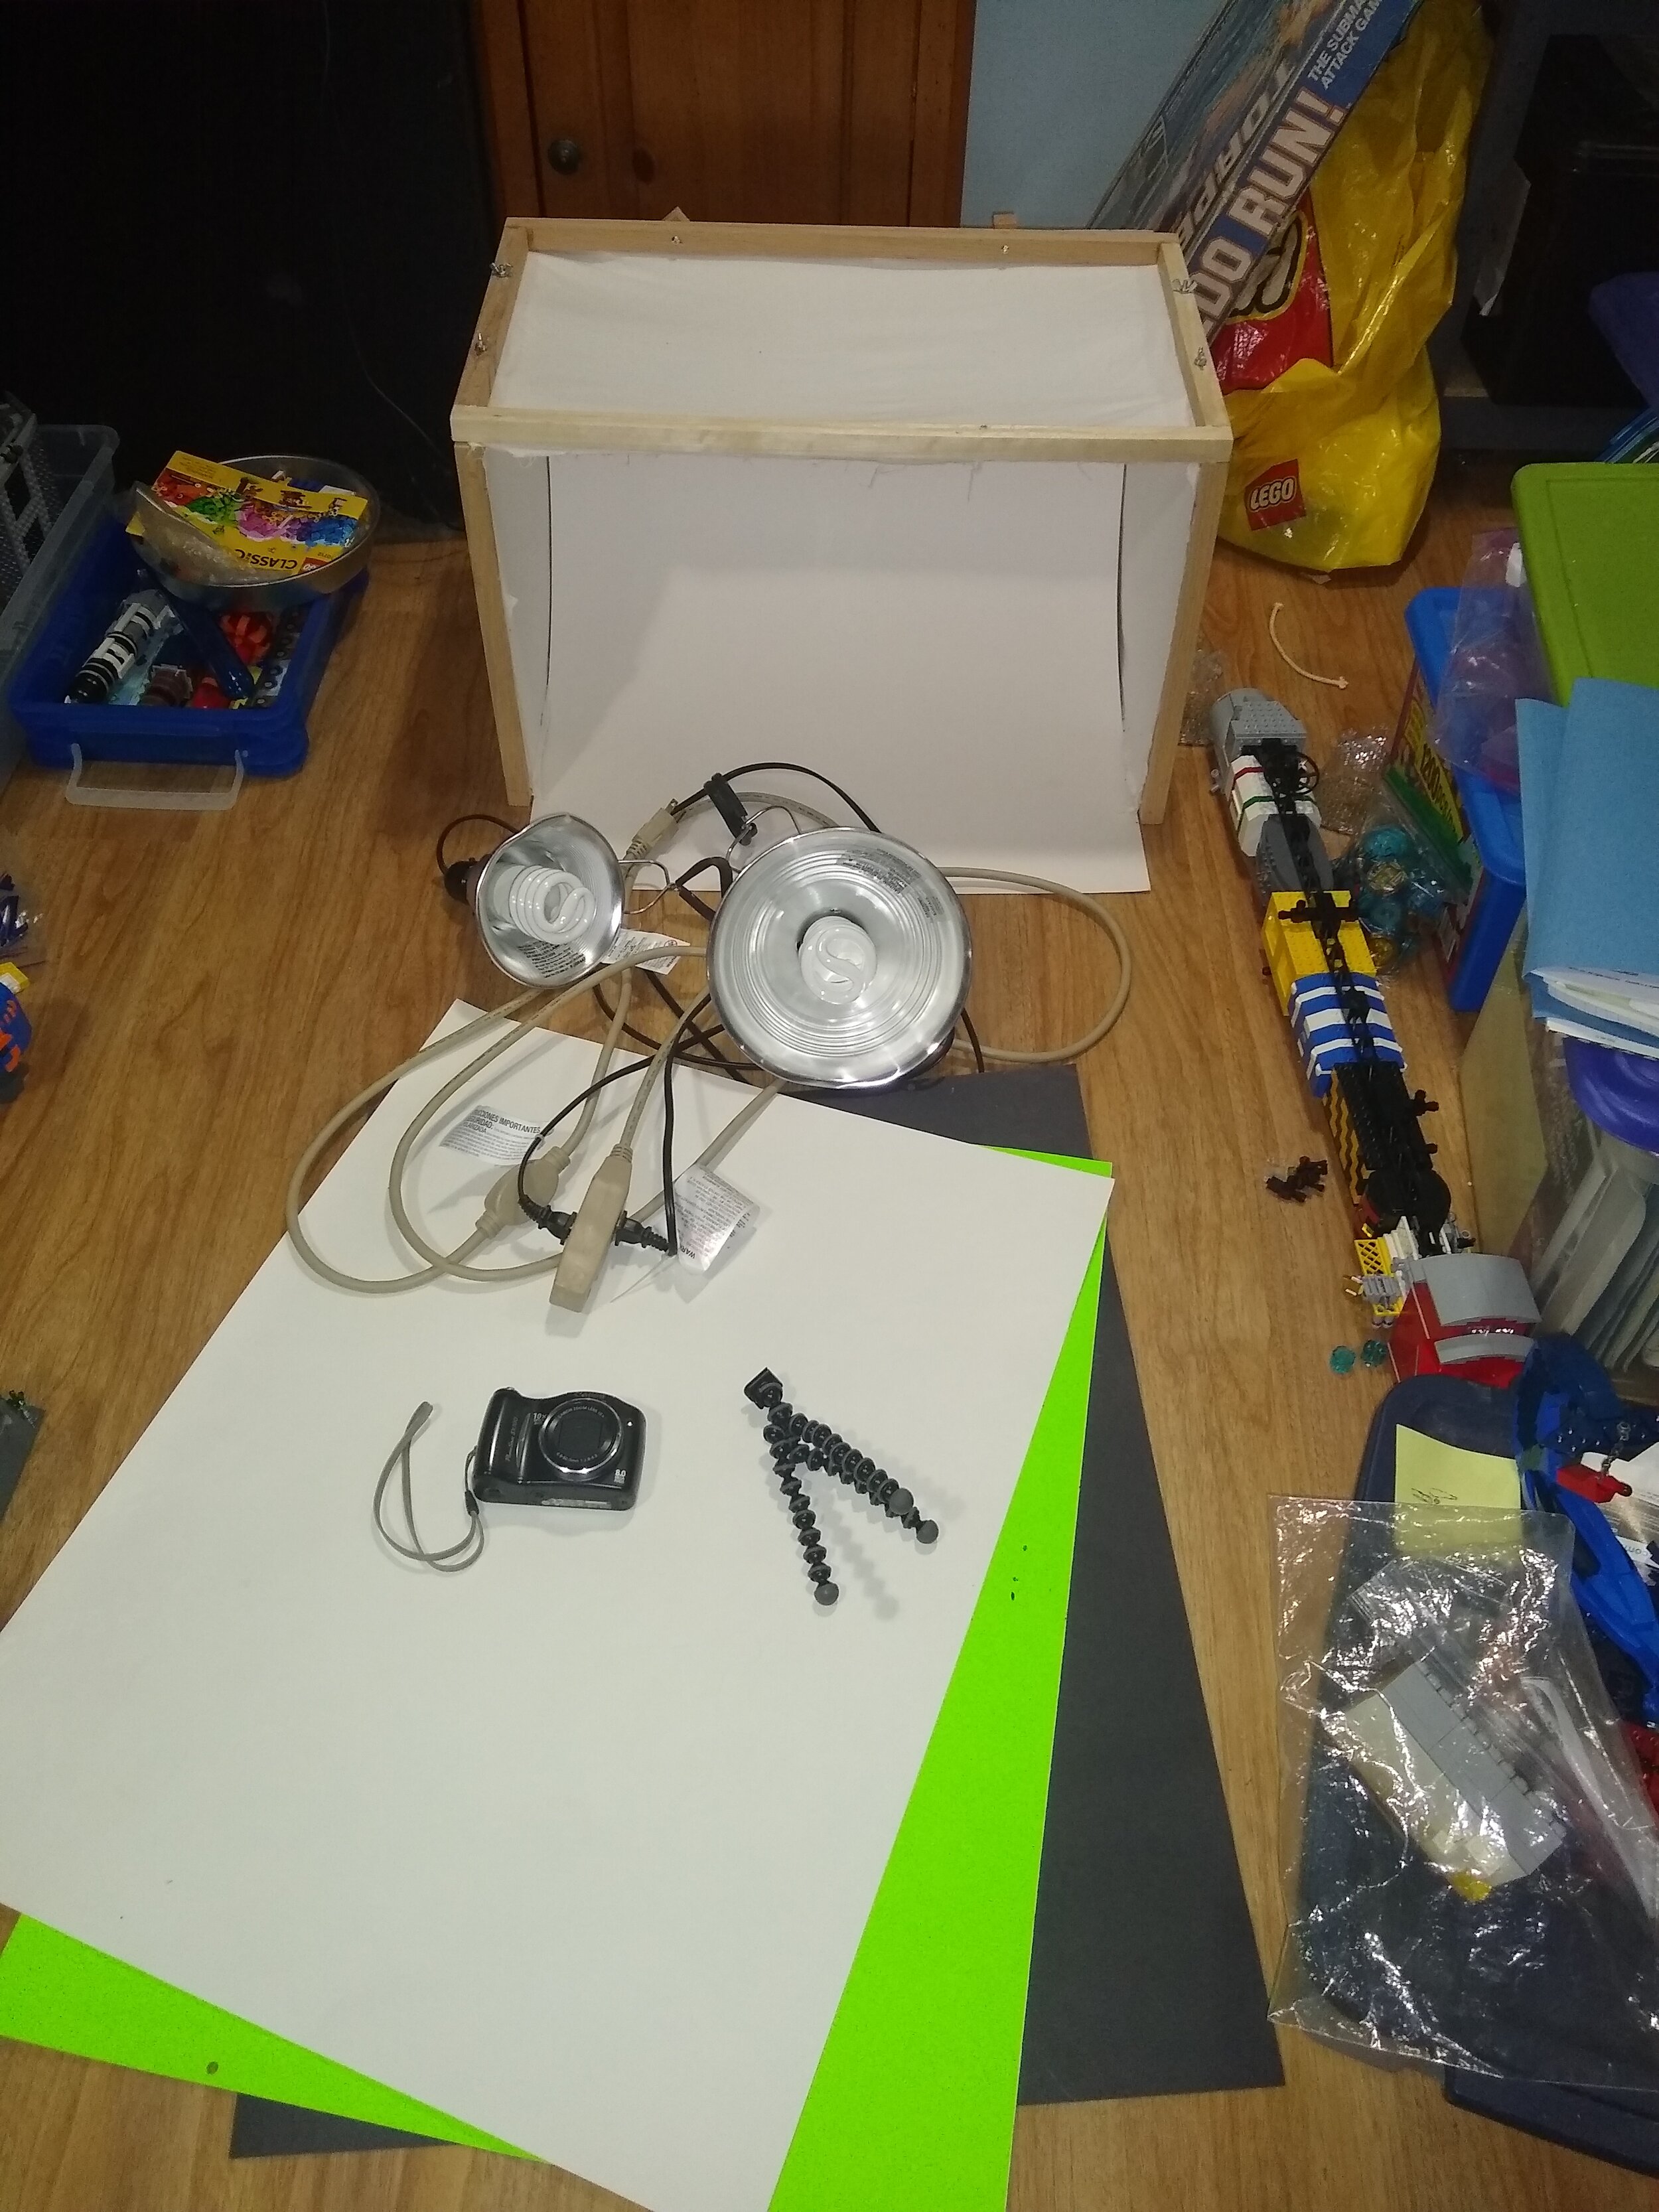
My photography gear, camera, backdrops, lights, light box, tripod, and assorted random objects in my basement
Camera
You don’t need a super fancy camera with a ton of options. Honestly, most cell phone cameras will cut it. More megapixels do mean more data in the image allowing for many advantages. I will occasionally use my phone, which let me assure you is not the latest hotness, for work-in-progress images or if I want to share something with a friend. I generally still prefer our standalone digital camera. It is very old as far as digital equipment goes (10+ years) and is a step above the entry “point and shoot” cameras, but not quite a DSLR (Digital Single Lens Reflex).
The two key features you will need on the camera you choose is a macro setting and a delay feature. Macro is a setting (often with a flower icon) used to capture small objects close to the camera. You’ll want to use this for small and medium builds and capturing up-close details on large builds. A time delay, when used with a mount, will result in clearer pictures by removing any motion blur from the button press.
Tripod or mount
Our hands are not as steady as we think. The best way to remove blur from a photo is to not be touching the camera when the photograph is taken. The delay feature mentioned above is half that battle; the other half is a mount. I’m partial to my GorillaPod tripod for my camera—the low-end units are fairly affordable and will set you back a medium-size LEGO set ($20-$50 US). Now, remember to buy for what you need—if all you are using it for is LEGO photography, you don’t need to spend a lot of money.
Another option is to use that pile of “highly sophisticated interlocking bricks” that if you’re reading this blog I’m sure you have laying around. The end goal is to hold your phone or camera securely and be easily repositionable.
Backdrop

Assorted poster board backgrounds (the green is a bad idea)
A clean smooth backdrop can make for internet-ready pictures… or at least ones that are easier to edit. The backdrop can be combined with a lightbox as well but that is optional equipment (see below for instructions for a basic box). Cloth may seem like a good choice but I didn’t have much luck with it, the backgrounds were always a bit fuzzy. I like a sheet of poster board—stick to matte finishes, anything glossy will reflect light in ways that you don’t like.
Richard over at the Rambling Brick suggested a roll-up window shade from IKEA as an option in his Voltron review a while back. I haven’t gotten a chance to pick one up and try it but it’s on my list for my next IKEA visit. Other possible options are rolls of paper, matte board, or other large, un-shiny, flexible objects.
As far as colors go white is the most versatile, followed by black, and then other neutral colors, i.e. greys, tans, etc. Taking a picture of a MOC on a similar colored background can make for an uninteresting image. Also if you chose to edit the images later finding the border between the white background and the white brick isn’t always easy!
Also, be careful if you chose a colored background! I have a neon green sheet of poster board for models that contain largely black and white pieces. This didn’t work out so well! The green poster board caused the white to have a sight green tint to it. This could be fixed with photo editing software but why create more work? For backdrops, stick to neutral solid colors, and buy at least a little larger than you think you’ll need.
Lighting
Proper lighting is really the key to photography. To be extremely nerdy about lighting it is in the word: photography is literally light (photo) writing (-graphy). For LEGO photography generally, you want bright but diffused lighting. This results in even light with a minimum of shadows. Shadows can be useful especially on large builds or monochromatic builds so experimentation is always good to get the best image. For bright and diffused lighting, think “outside on a day with a light overcast.” The clouds scatter the light and make the shadows more even but it is still bright enough to bring out the details. This was mentioned in our feature of Bill Volbreight’s Small World creation.
What do you do if outdoors is not possible? Or perhaps you live in a generally cloudless area, don’t have an outdoor space suitable to use, or like me have to do most of your photography work after the sun goes down. Well unless you have a room that is very brightly lit, you’ll need a couple of lamps at the minimum with some higher wattage bulbs. I’m partial to a couple of shop lights with clips that I picked up at a hardware store, they have lots of other uses too, but desk lamps, small table lamps and many other solutions exist. I like to use bulbs that are labeled bright white, cool light, or daylight. These have color temperature ranges of greater than 4500 Kelvin. Lower temperatures are yellow/orangish fine if you want that vintage home photo look from incandescent bulbs, but that’s not what I’m usually after.
Using flashes can be tricky. Built-in camera flashes are by nature very close to the lens. This can cause reflections (especially on black bricks), odd shadows, and glares in the final image, —especially when shooting perpendicular to the model. To offset this, try having the LEGO not be straight on to the camera. Also, I only use the flash if I’m having trouble getting things lit the way I want and have lots of other light on my subject. Sometimes it works sometimes it doesn’t.
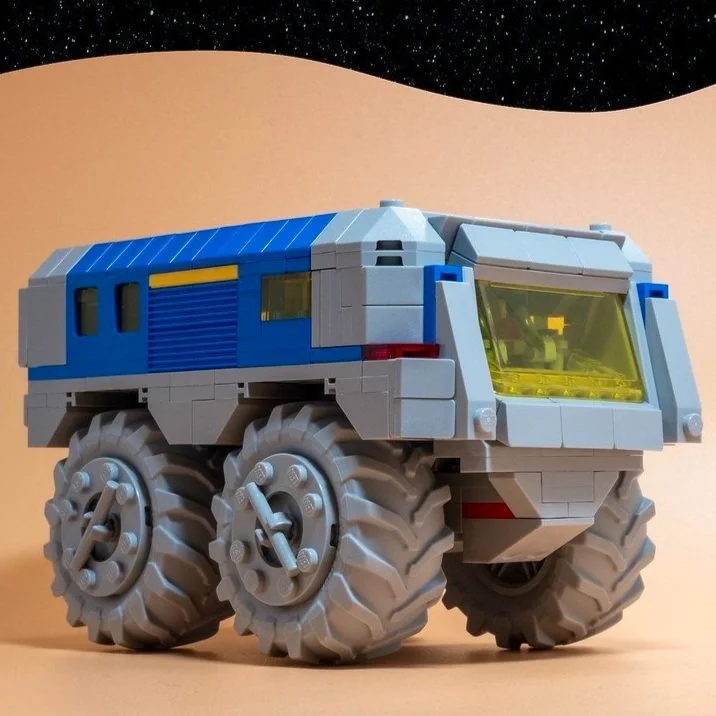
I asked my fellow BrickNerds if they had any other simple suggestions. Andreas suggested for large builds that really bright lights aimed at the ceiling and reflected down can be a great diffusion trick. Something like one of these—also he’s been known to use white plastic garbage bags as diffusers. El Barto recommends direct natural light for spaceship builds that can mimic the light from the nearby star! This is especially useful if you are going to edit in a space background. And Dave said he has used wax paper, parchment paper, and printer paper as diffusers draped over shop lights.
You could even use a few of these tracing lights as light sources (I’ve yet to try the one I have out yet though). Experimentation and practice are key—what works for one build may not be the best for another!
Nice to Have But Not Required
Light box

My Light Box
One way to combine lighting and a backdrop is with a lightbox. The price for a lightbox can quickly start to rival the price of a large number of bricks! Fortunately, cheaper solutions exist! A cardboard box, with some poster board and light fabric can easily be turned into a lightbox.
I opted for a bit more robust solution using some square wood stock, bolts, wing nuts, poster board and fabric. Probably in total, it cost ~$15 when I built it a few years ago but everything might be a little more expensive now. Be sure to make it for the typical size you like to build. Mine has honestly turned out a bit small and I would build it bigger next time. Also, don’t be tempted by tissue paper over a fabric solution. It may seem cheaper but you’ll have to replace it a lot more often! (Building instructions are at the end of this article.)
Software
I’m not going to sugarcoat it. Many of those drool-worthy LEGO photos out there have gone through editing software. Photo editing can be a whole separate hobby and honestly, it is not something I’ve put a ton of time into. Photoshop is the most well-known and has come to be mean not just the name of a software tool but the actual verb to edit a photo or to even to describe an edited photo. I like GIMP which is an open-source image editing tool. It isn’t as polished as Photoshop but it works for me. Photoshop and GIMP both have pretty steep learning curves. There are a variety of simpler options out there—everything from apps to web-based tools. In fact, there is a member of my LUG who uses Microsoft Paint!
Other Lights
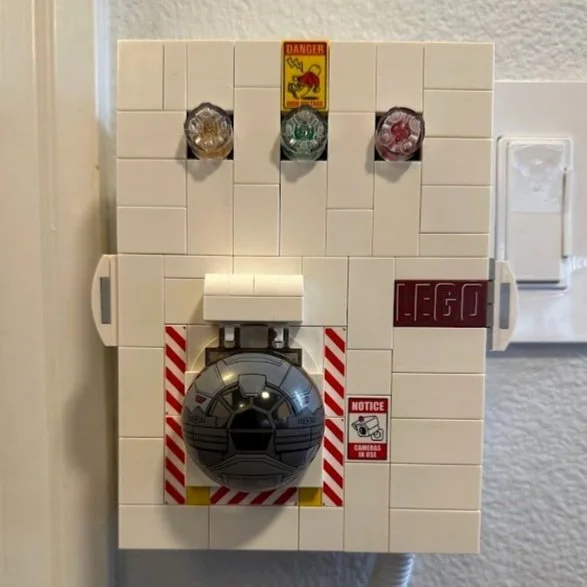
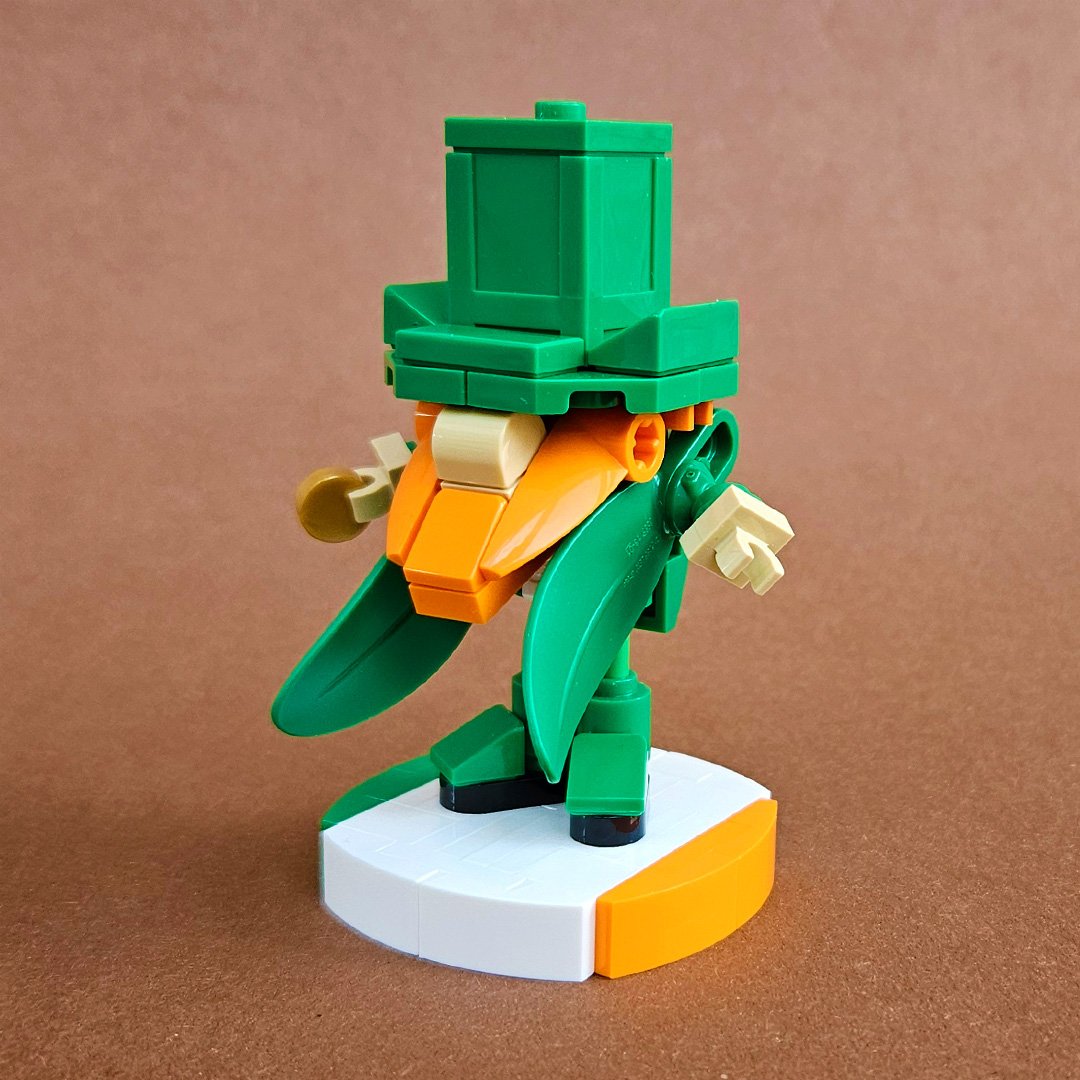
This is more for fun. Blacklight bulbs are great if you build with any of the bricks that fluoresces like coral, red, orange, and green—these can be used to create moody atmospheric shots. Smaller lights inside or behind a build can bring life to an image too.
The Absolute Must Do
PRACTICE
Like a great many things photography is both science and art (much like building LEGO!). You can know all the tricks and techniques but unless you experiment and try, you will never improve. When I photograph a model, I’ll take several similar shots. Maybe it’s flash and no flash, a different lighting adjustment, a slight repositioning of the camera, etc. I took a photography class in high school many years ago now. I’ve forgotten the vast majority of what I learned about F-stops, apertures, ISO numbers and such. I will still experiment with them if the picture isn’t coming out right. But I have learned that no amount of post-processing will fix a bad image. This is something I’m bad at, but keeping a written log may be beneficial in your photography journey
I hope this article has helped you to see the possibility that good LEGO photography can be accomplished inexpensively, and has given those unfamiliar with the photographic side of our hobby a good entry point. For those who like me who are OK photographers perhaps, I hope I’ve given you a tip or two that helps. And for those who are really good, well hopefully I didn’t get too much wrong!
Now you, on the end there, scooch in just a little and everyone smile and say “Cheese Slope!”
Instructions for Michael’s Portable Photo Box
Anything I used for this portable DIY photo box can be adjusted in size to suit your needs. Any dumb design decisions I made were based on the limits of the size of the poster board I bought. Looking back, I wish I had built it taller and attached multiple pieces of poster board together. Scale to suit your needs. This particular box is good for smaller builds—think 300-500 piece sets or MOCs.
Materials
0.75 inch (19 mm) square stock wood, length based on sizing—you’ll likely need several pieces, and they come in 3-4 foot lengths (~1 meter).
6 fasteners that are 2 inches (50 mm) long I believed I used 6-32’s (M3.5x0.6 are similar in size)—I don’t have a thread gauge handy to verify. (If you want to be fancy, shoulder bolts are the “right way” to go but as this is a wood construction that is going to see minimal loads, be cheap like me and use all threaded fasteners!).
6 wing nuts of the same size as the fasteners.
~1/2yard (1/2 meter) of white cotton cloth (Muslin or similar). You are looking for something that lets light through but diffuses it. You don’t want a thick heavy cloth that will block all light.
At least 1 (one) piece of poster board or something similar. I recommend white, black, or a neutral color (matte board or other surface as discussed above).
Glue (I recommend wood glue for gluing the wood, but white glue will work in a pinch).
Staples (optional).
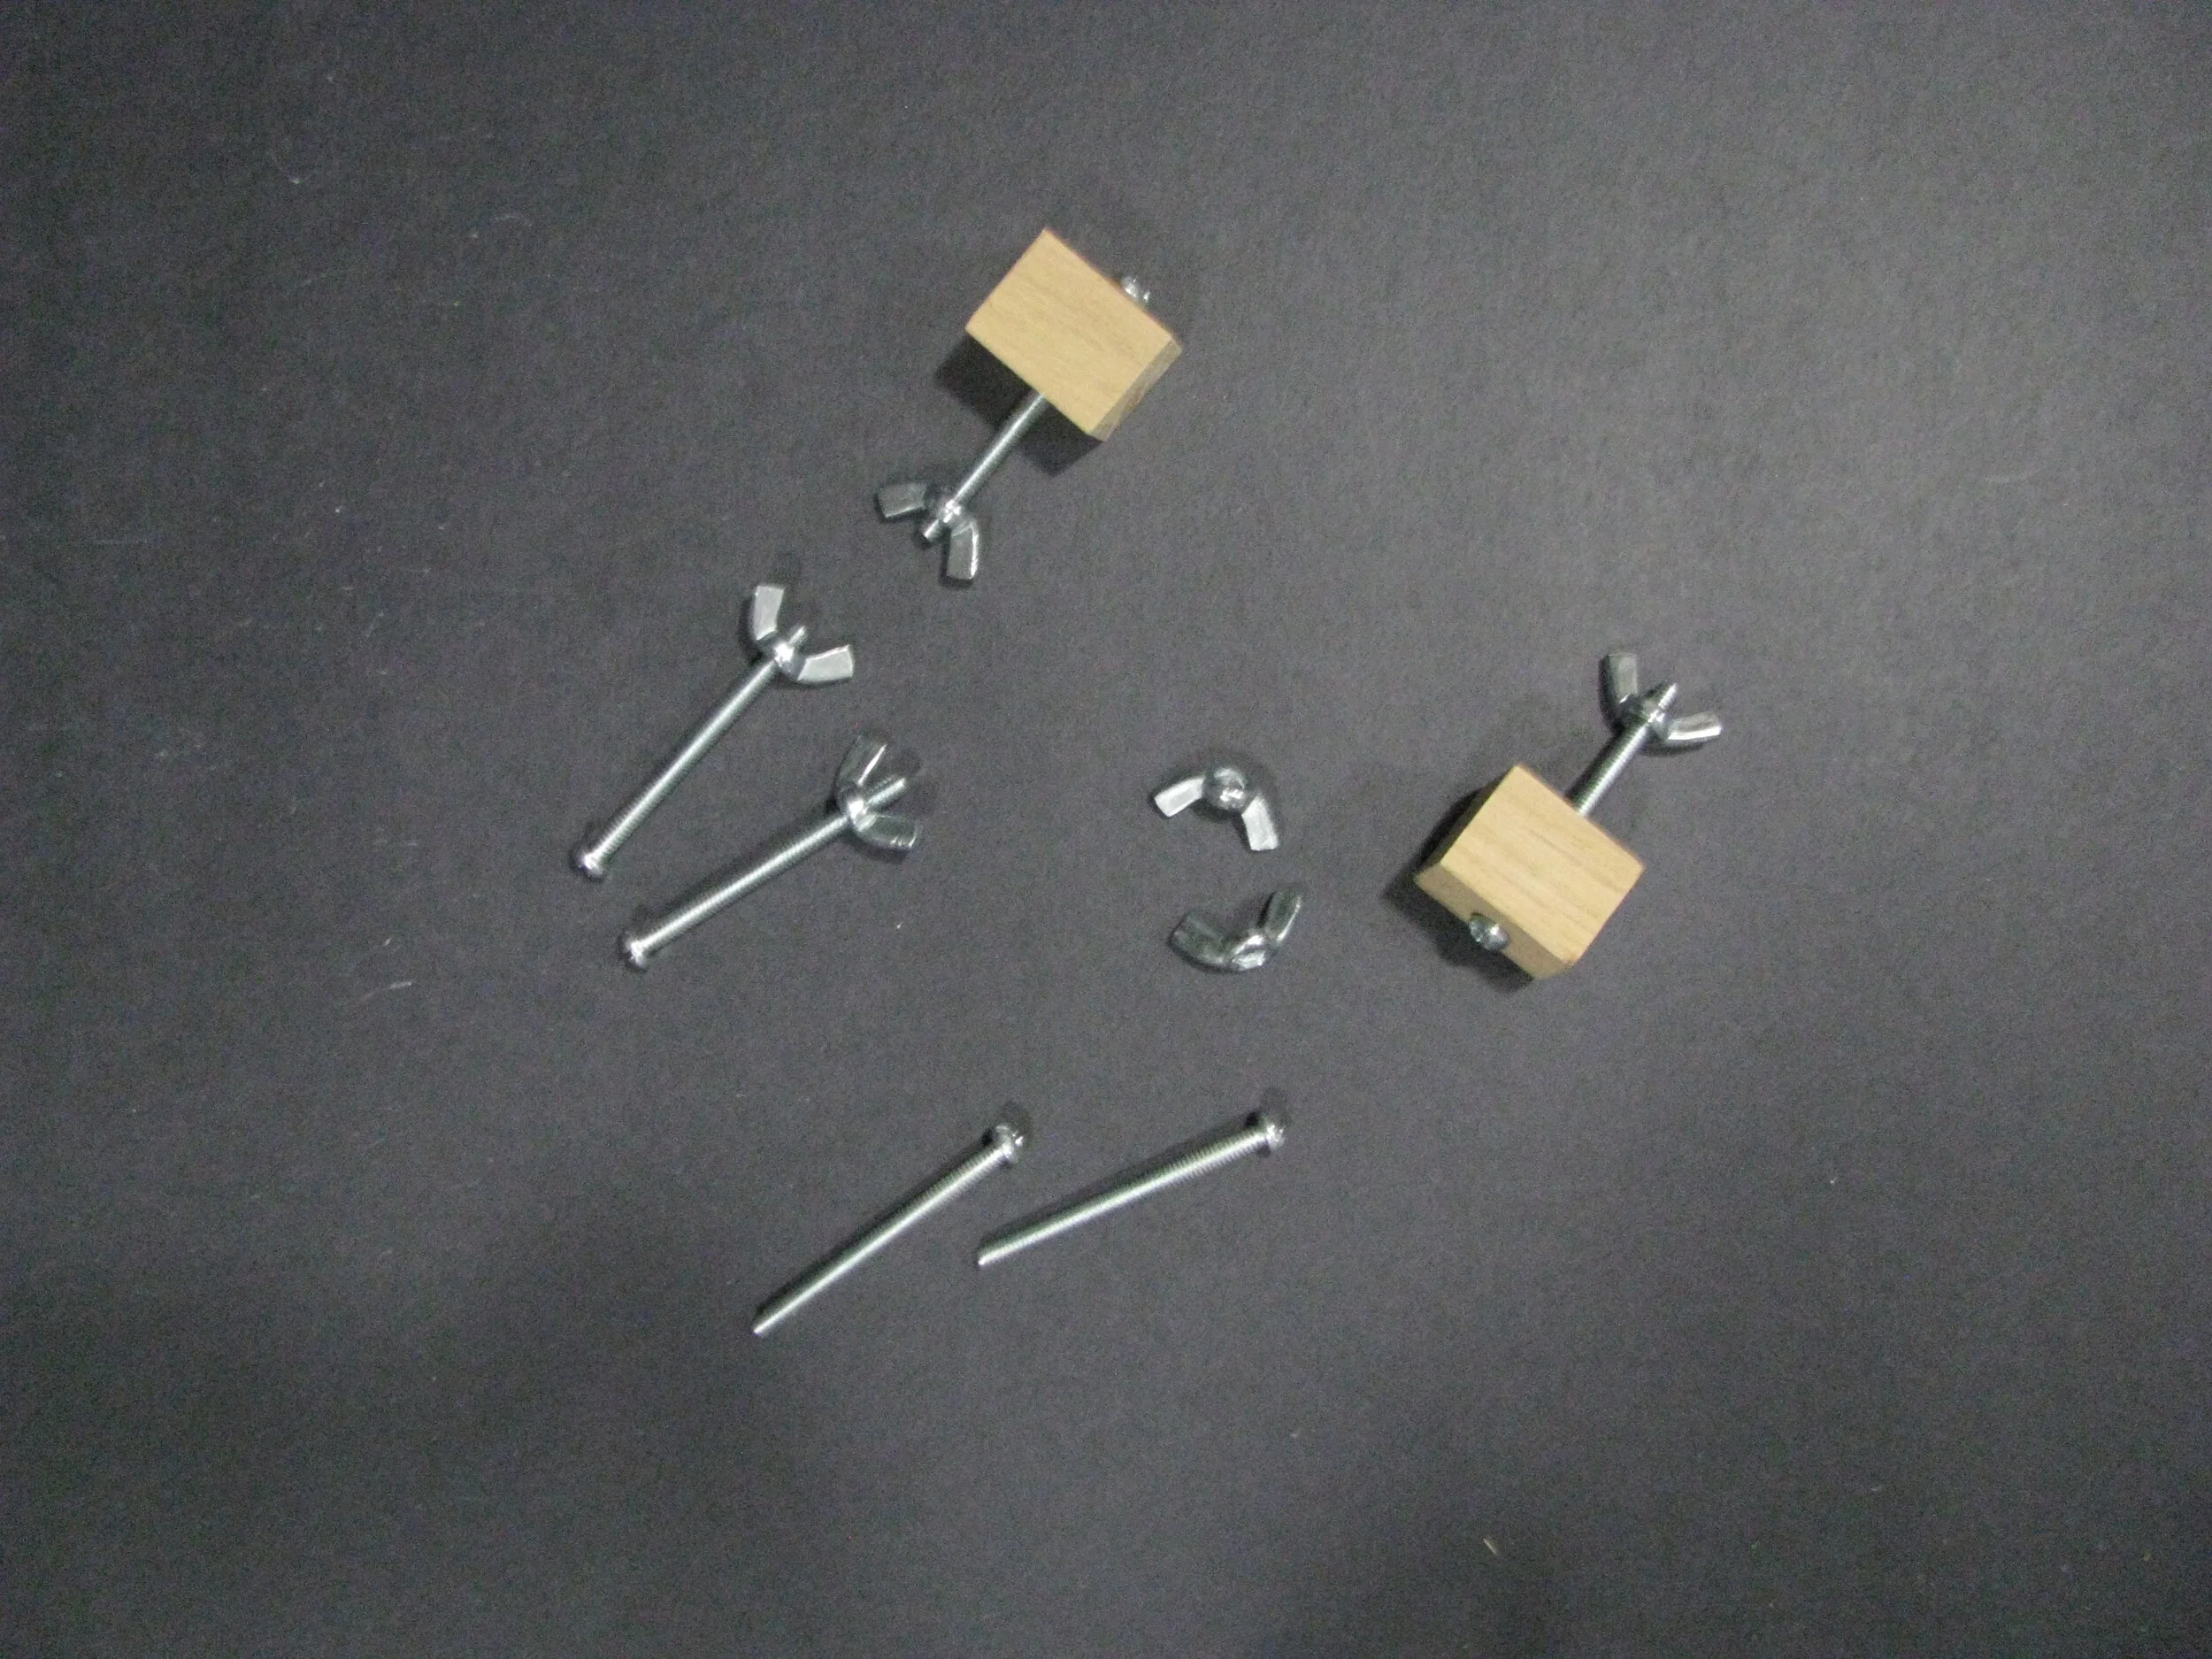
Hardware!
Tools
Saw, hand or powered. If you use a hand saw, I recommend a miter box to ensure straight perpendicular cuts.
C clamps.
Drill with a drill bit for clearance holes for your chosen fastener.
Hole punch.
Right angle (optional but highly recommended).
Staple gun (optional).
Procedure
1. Determine the size of your box. The width will be set by your choice of background material. Mine happened to be 22 inches (0.56 meters). Adding the widths of the wood I needed, I ended up with two 23.5 inch (0.60 meters) long lengths for the top. I chose a 14 inch (0.36 meters) square for the sides that gave me the need for the following cuts of wood:
Qty 2 23.5 inch (0.60 meters)
Qty 4 14.0 inch (0.36 meters)
Qty 6 12.5 inch (0.32 meters)
Qty 2 1.0 inch (25mm) scraps
Note again my laziness—the “right way” would have been to cut all but the 1.0-inch scraps at 45-degree angles and have 10 pieces all 14 inches long. For this application square but joints are more than sufficient.
2. Glue the 3 sides together. Make a rectangle of the 2 23.5 inch long pieces and 2 of the 12.5 inch long pieces and glue. The 12.5-inch pieces should be inside of the longer pieces. Repeat to make the two square sides.
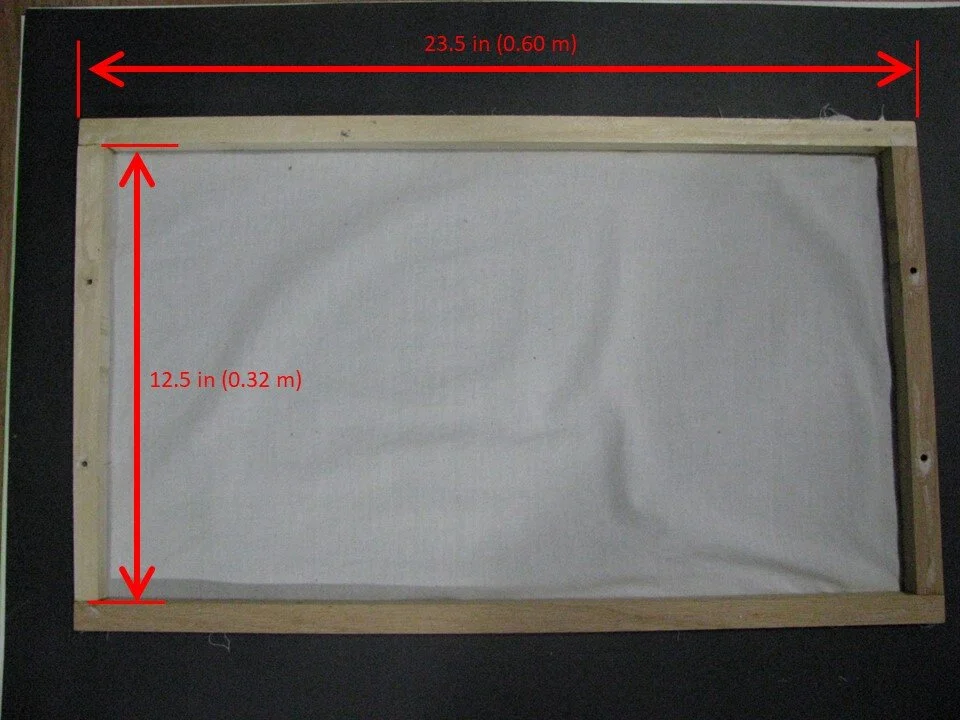
Top of Light Box

Sides of light box note match striping on top of left hand side
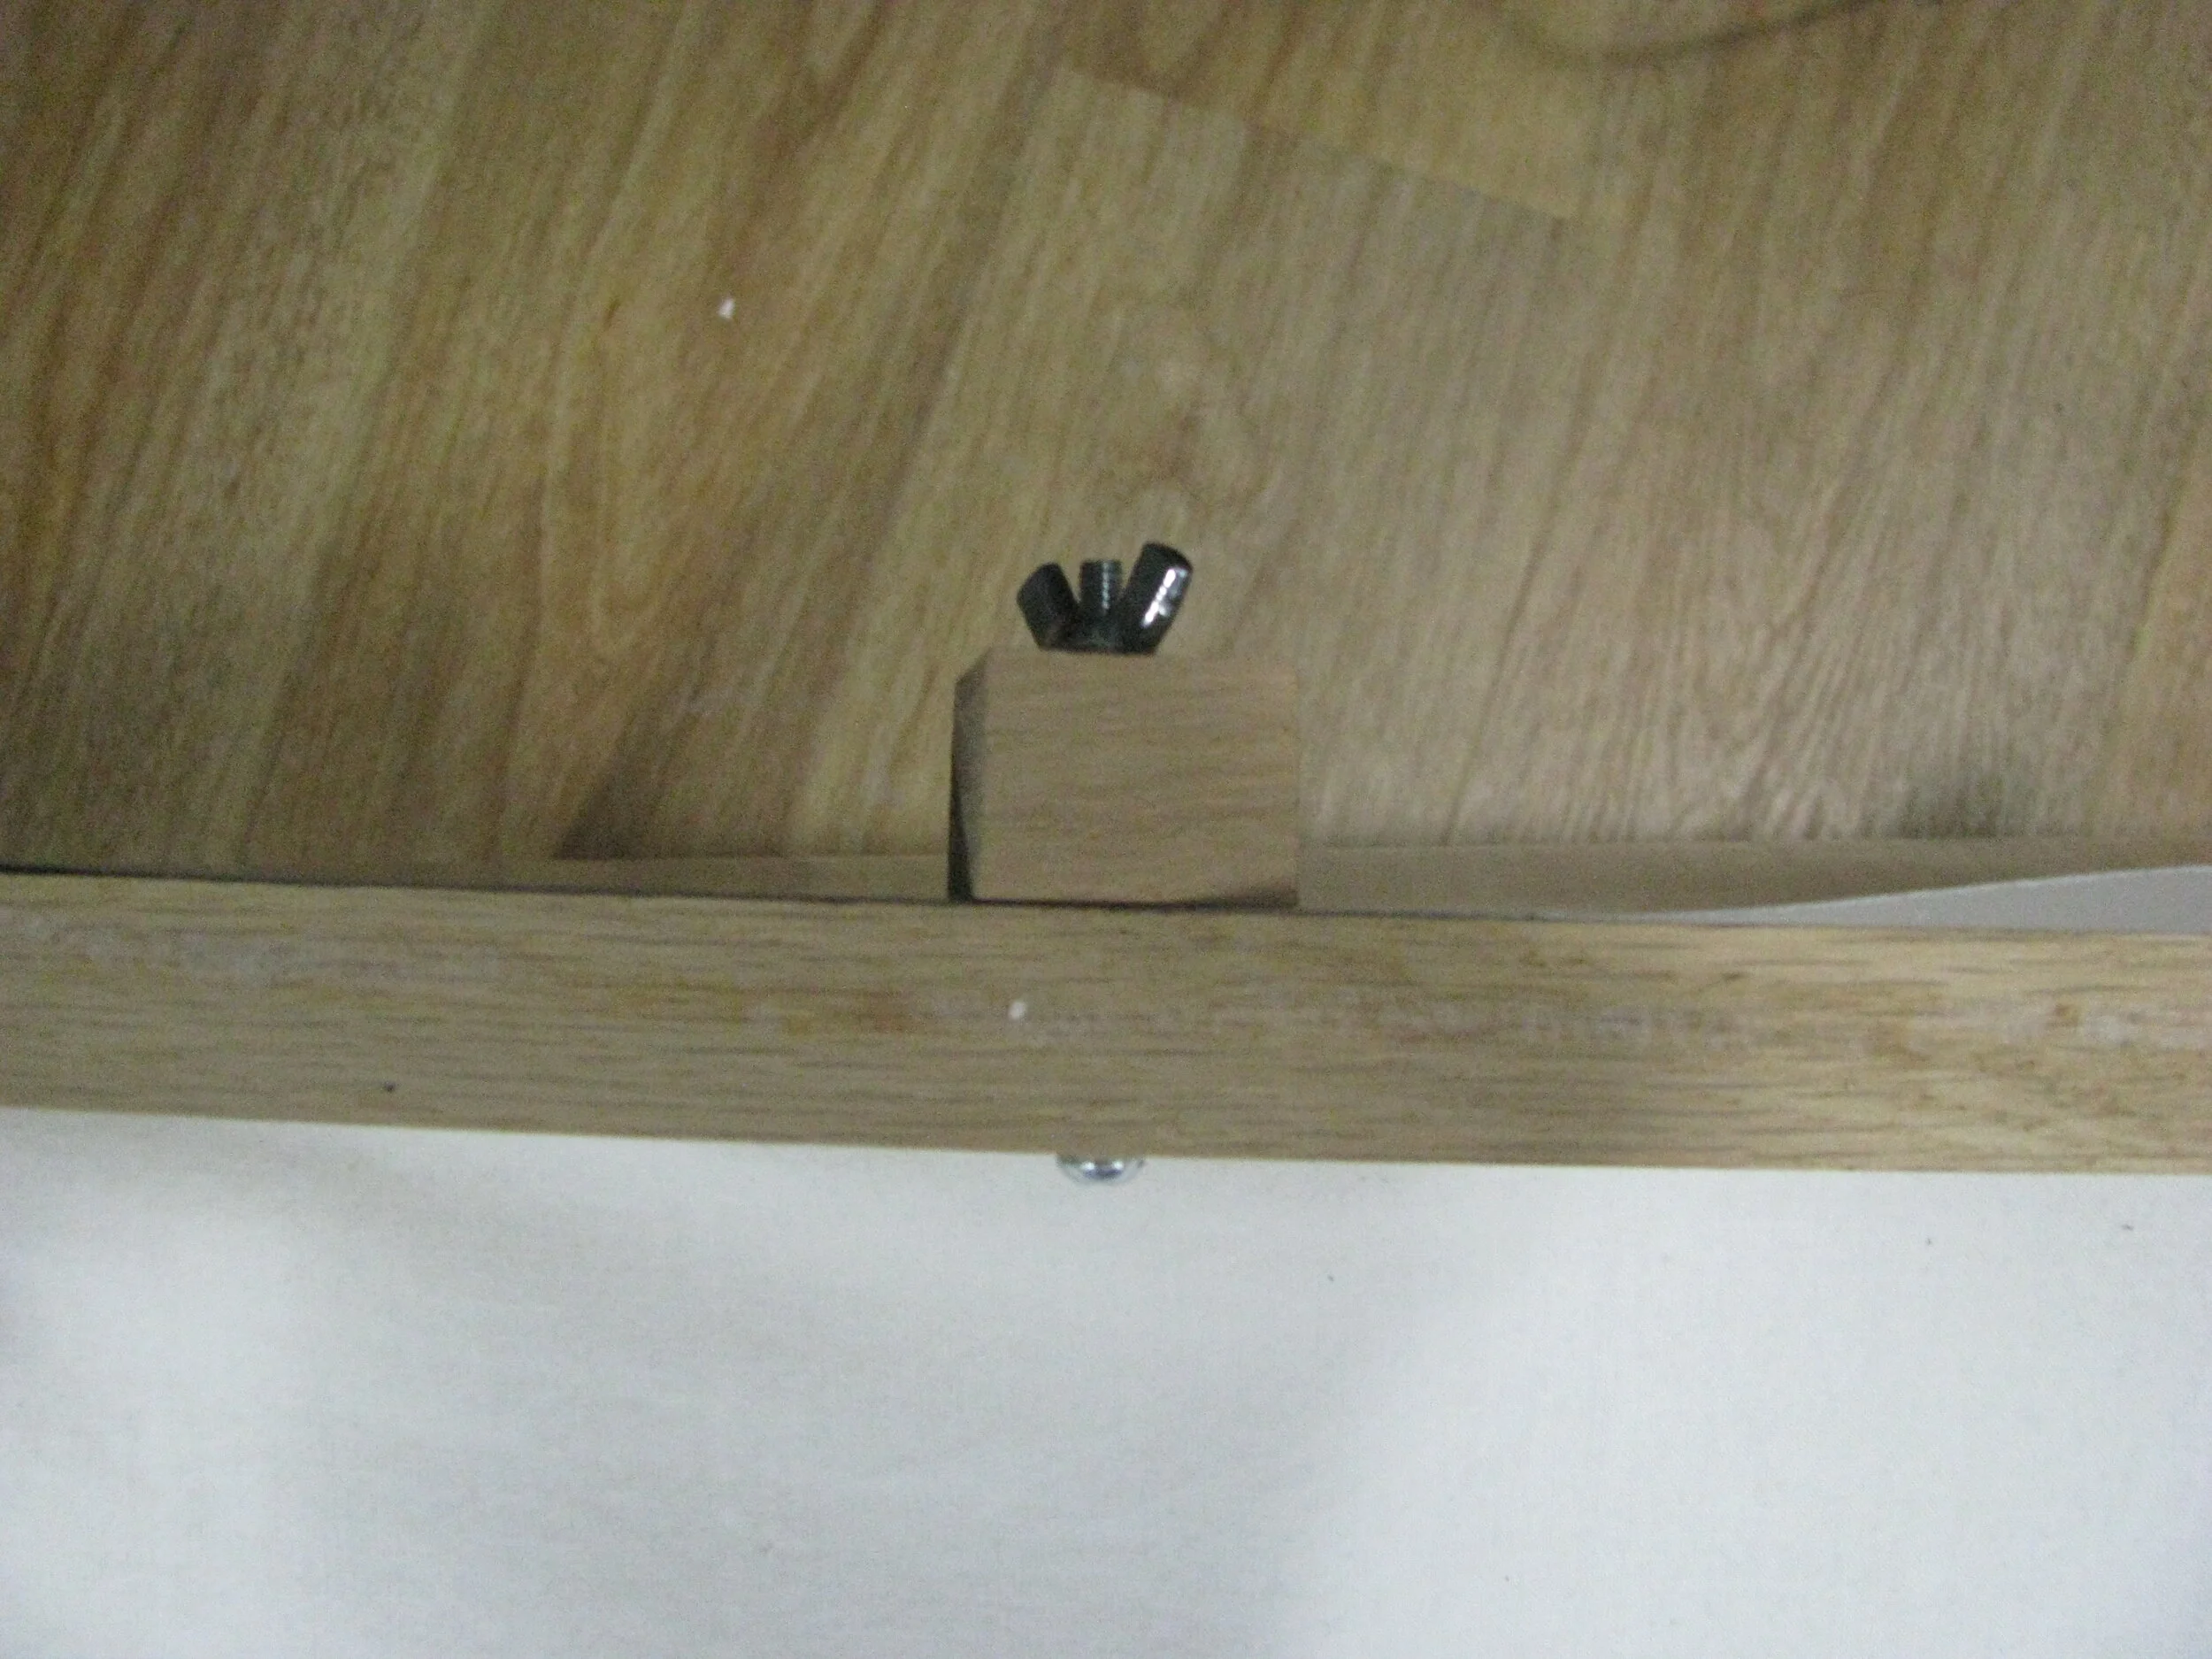
3. Once the glue is dry, clamp one square to the underside of the large rectangle with C-clamps. Clamp the assembly to a sturdy work table. Drill two holes through both pieces—mine are roughly at 1/3 the length from both ends. This is called match drilling and makes sure that your holes will line up. Repeat with the other side.
I marked the left-hand and right-hand sides of mine with inside/outside marks so I knew how it went together and I spend less time reassembling. That makes it sound really complicated, but I only drew stripes with a marker across the joint. One side has one stripe and the opposite has two stripes on the outside of the box.
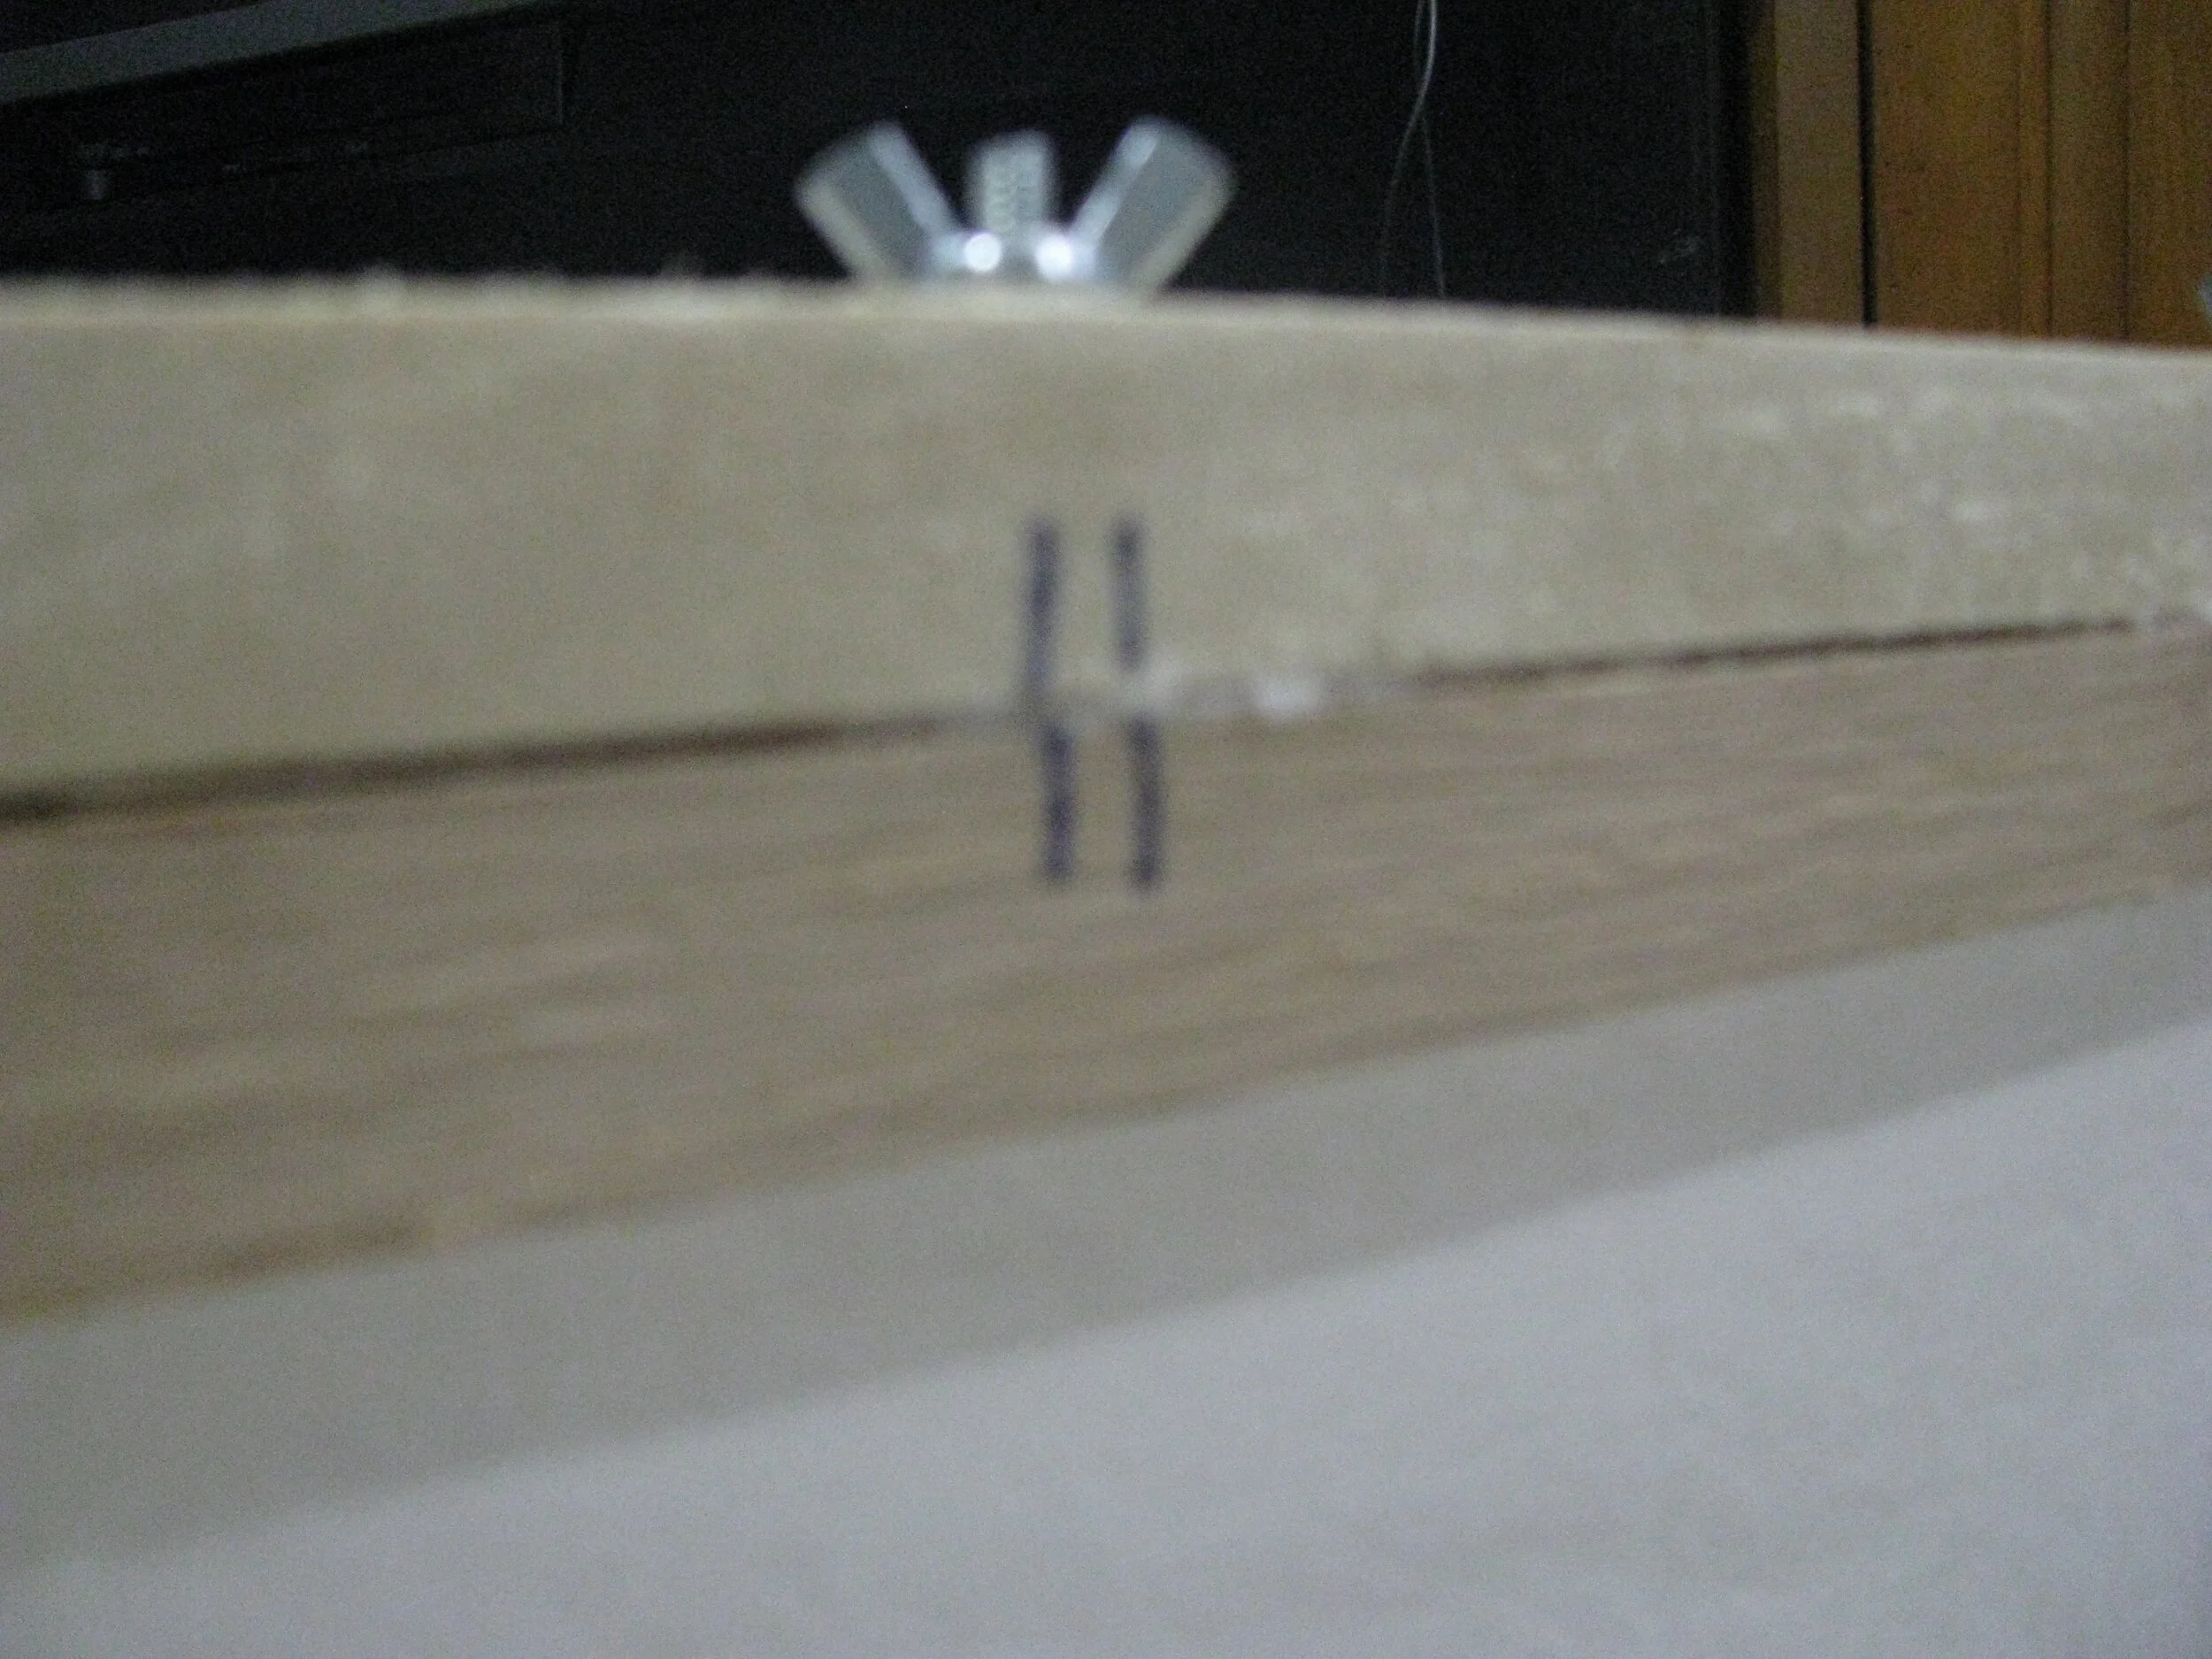
Match Stripping
4. Clamp scraps to the long side of the top, and match drill these. I then used these holes to mark my poster board and took a hole punch to it.
Scraps used to secure posterboard
5. Cut your fabric to size, then glue, staple gun, or otherwise adhere the cloth to the inside sides of the box. It should be reasonably tight—you don’t need to be able to bounce coins off it but you don’t want it to sag.
6. Assemble and take pictures of all your LEGO!

LEGO Speeder Bike Photo shoot
There are lots of ready-made lightboxes available online, but this DIY solution was cheap and effective—exactly what I needed at the time. If you have photography tips, feel free to share below!
Do you use a lightbox and background for your LEGO photography? Let us know in the comments below.
Do you want to help BrickNerd continue publishing articles like this one? Become a patron to show your support, get early access, exclusive swag and more.