
How To Make Custom Printed Cloth Flags for LEGO Projects
/I had a very long dark age from the LEGO hobby (approximately 25 years!). My best guess is I stopped collecting somewhere around 1993 and wouldn’t return until 2018. Even though some Castle sets came out before my dark age, we did not seem to have any growing up. We had very limited funds for LEGO, and most of what we bought were City sets.
Coming back into the hobby, Castle became the preferred theme I truly love to build, and recently I have committed to building a large Fright Knights castle for a LUG display coming up in the Fall.

I always loved the printed cloth flags that adorn the top of the older LEGO sets, but sadly, I have none. When looking to acquire a few Fright Knight flags for my castle MOC, of course, I had some serious sticker shock! It would be $10-$15 minimum for a single flag—and I would need multiple!
So instead, I chose to try making some of my own which I’ve wanted to do for a couple of years now. Come along on this journey as we learn how to make printed cloth flags for your LEGO projects.
Research

Printable Poplin sheets from Amazon
Coming from a background in product design, I’m already well experienced at making things myself and had a pretty good idea of how others were doing it. I did ask around the community, though, for the sake of research. Additionally, I found some great conversations on Eurobricks here and here.
Through my research and asking around, almost all directions pointed to finding a tight weave cotton with removable paper backing for the flags' fabric. From experience, I knew Poplin was a good candidate, and I ended up finding a decent candidate on Amazon very quickly!
After printing, the fabric will also need an anti-fray or fabric stiffener application which I also found on Amazon.
Getting Started
The first step was to create patterns for the flags, and in this case, I wanted the updated versions from the Lion Knight’s Castle set 10305 which I had on hand. I took an overhead photo as clear as I could get, and imported that into Adobe Illustrator for tracing the outline.
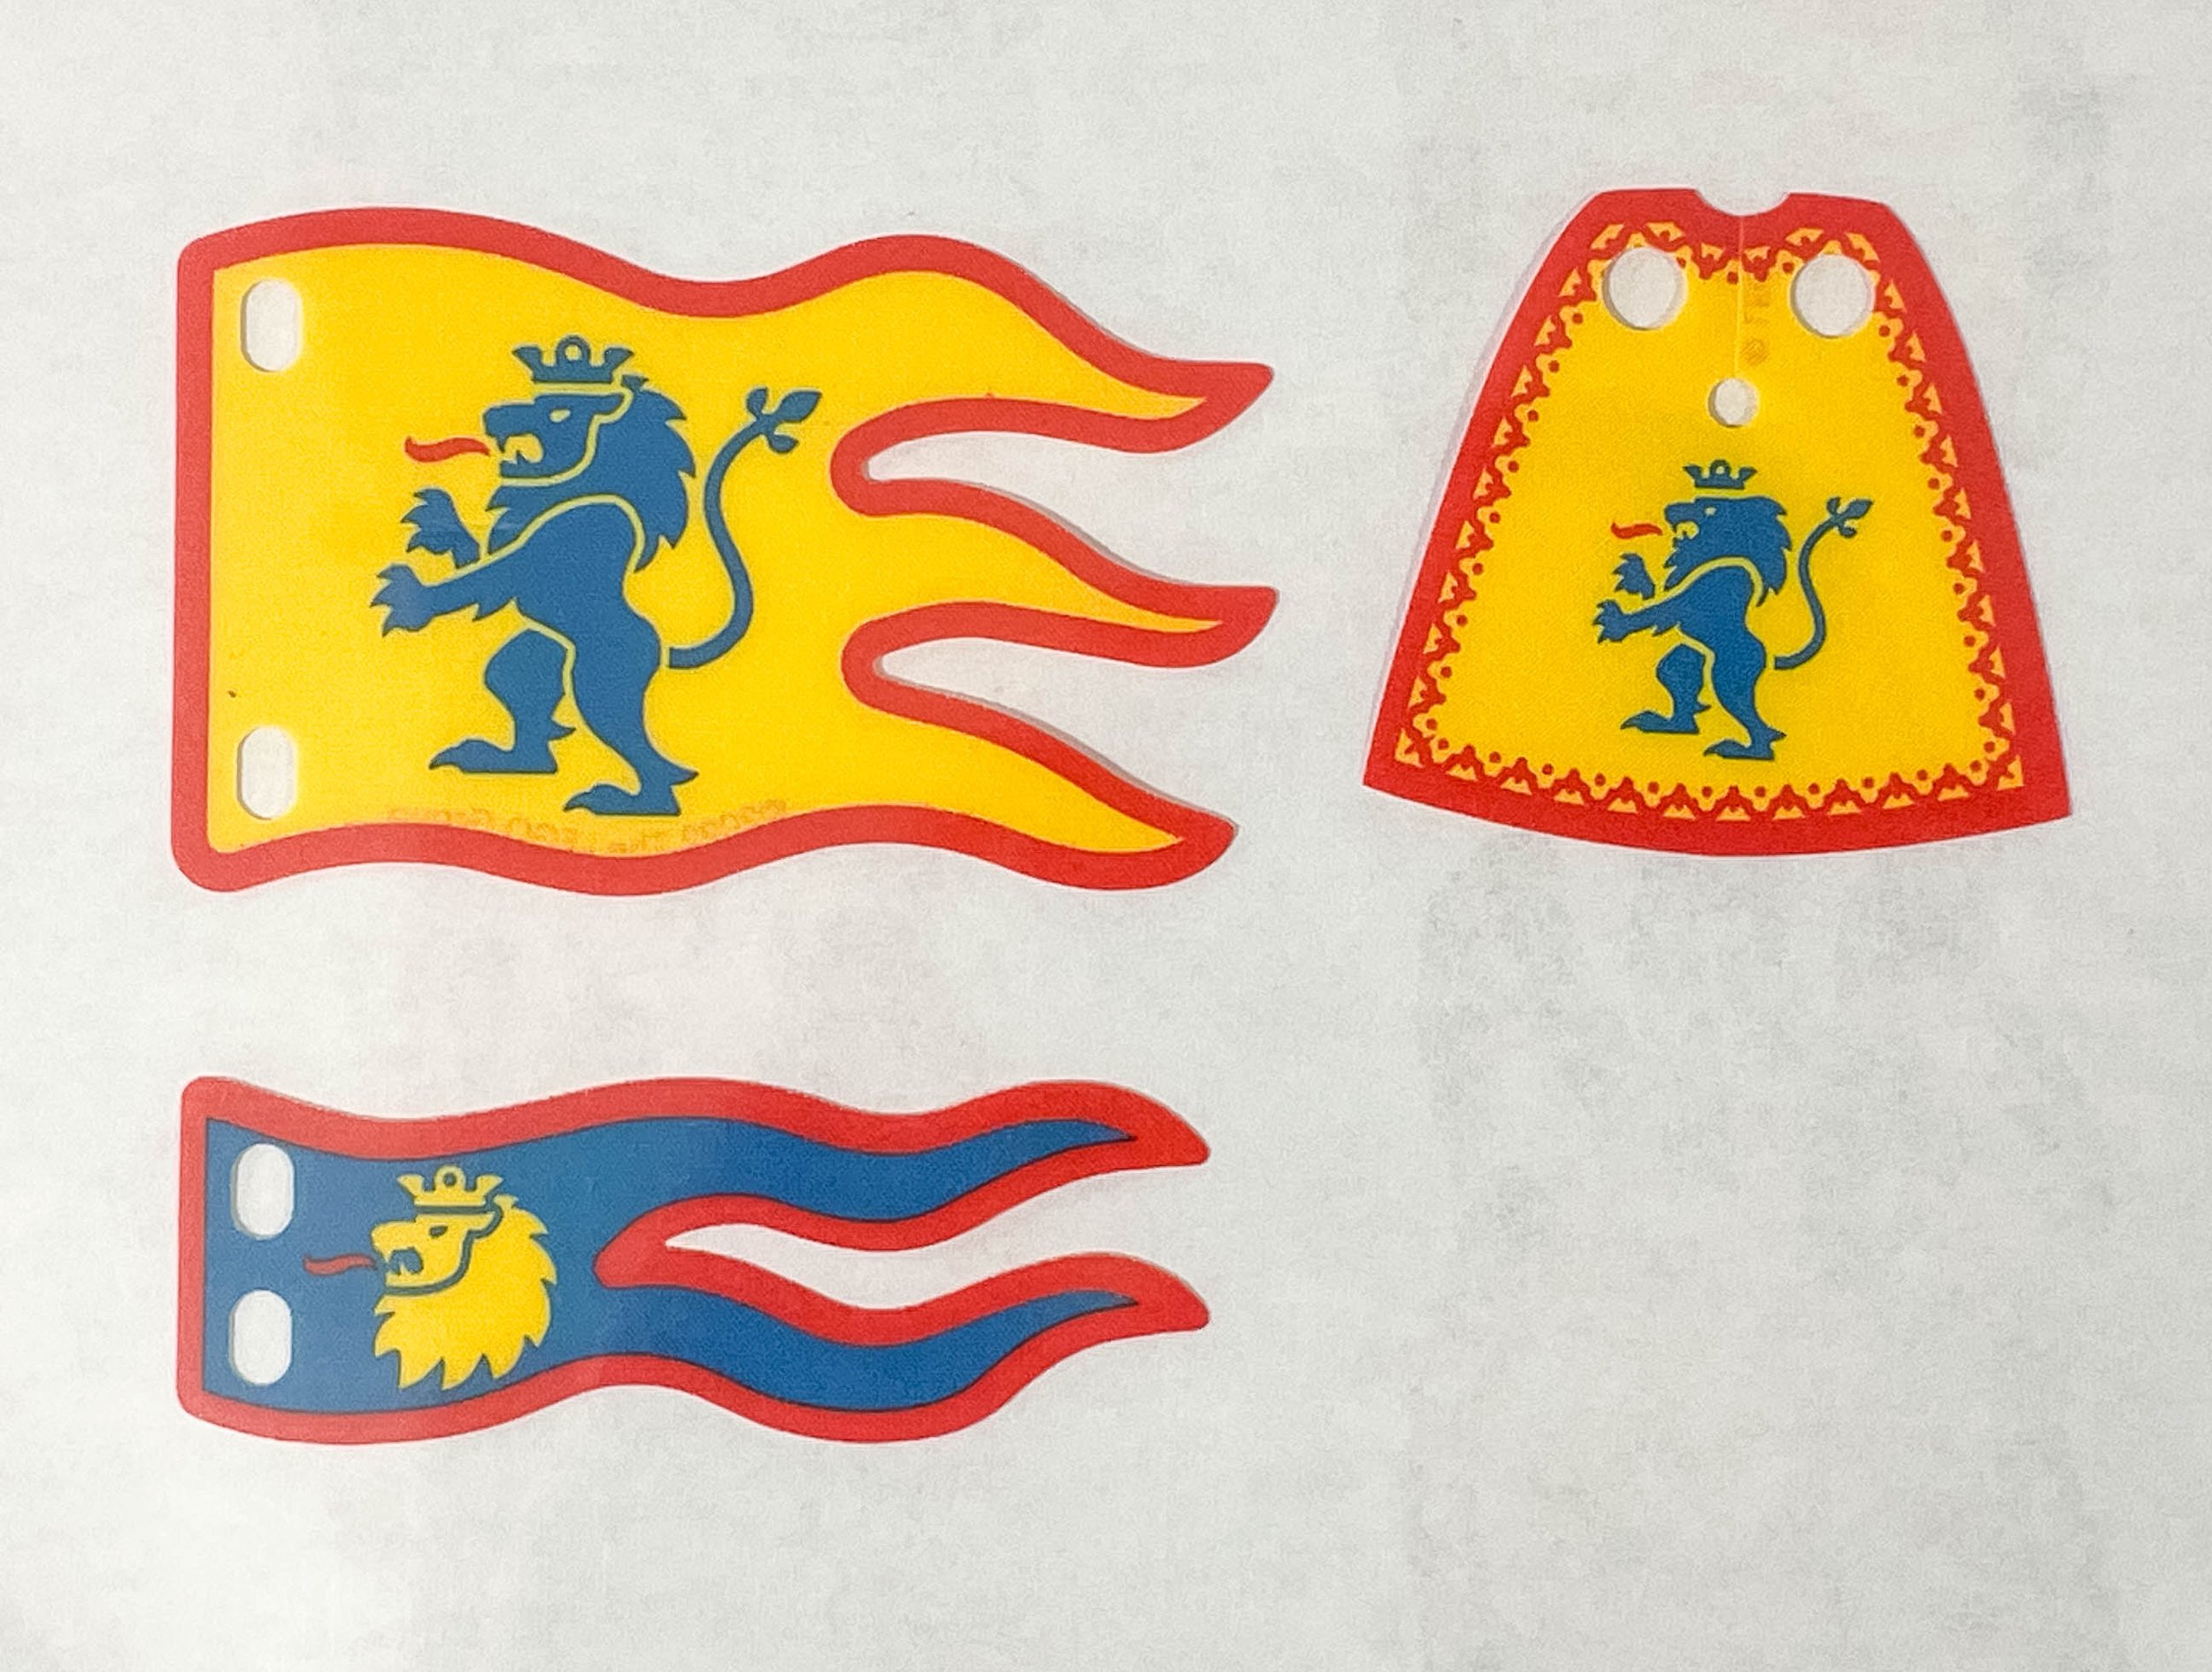

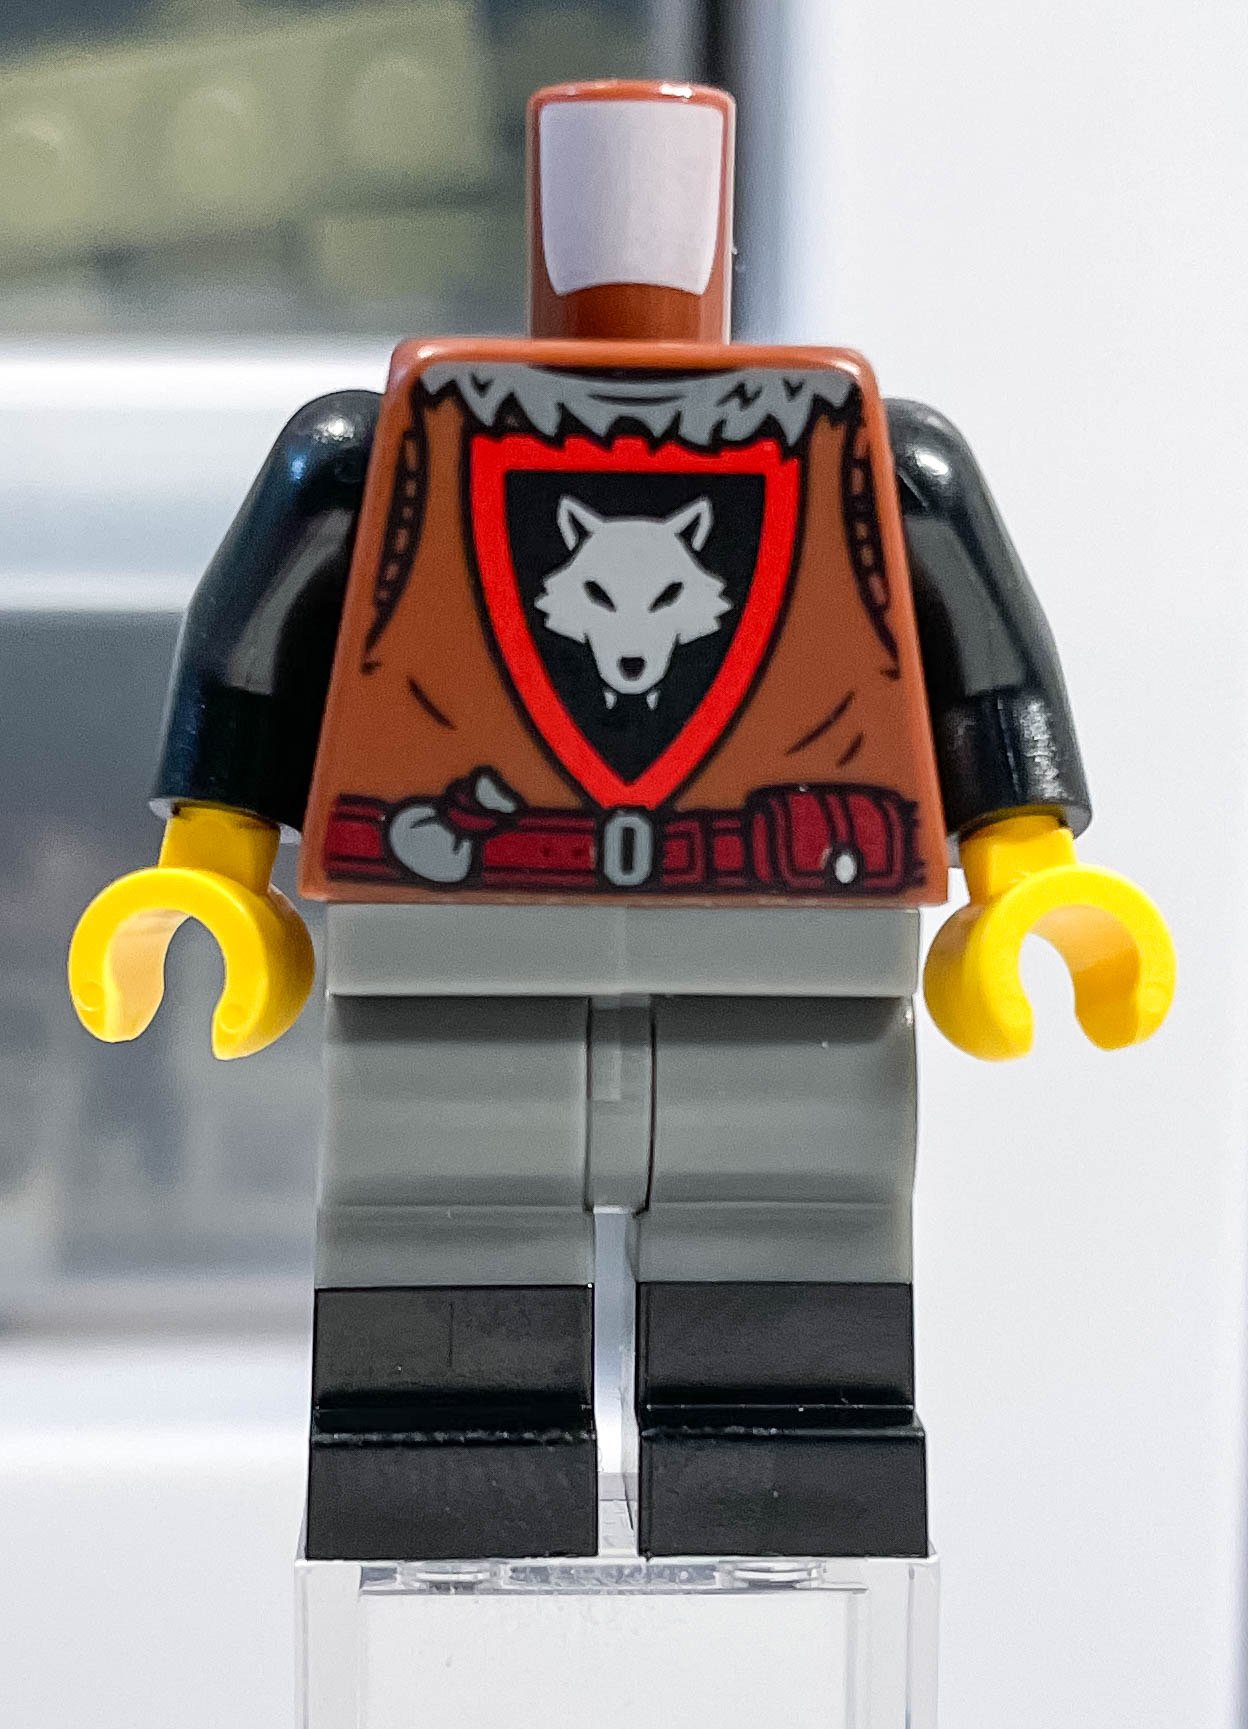
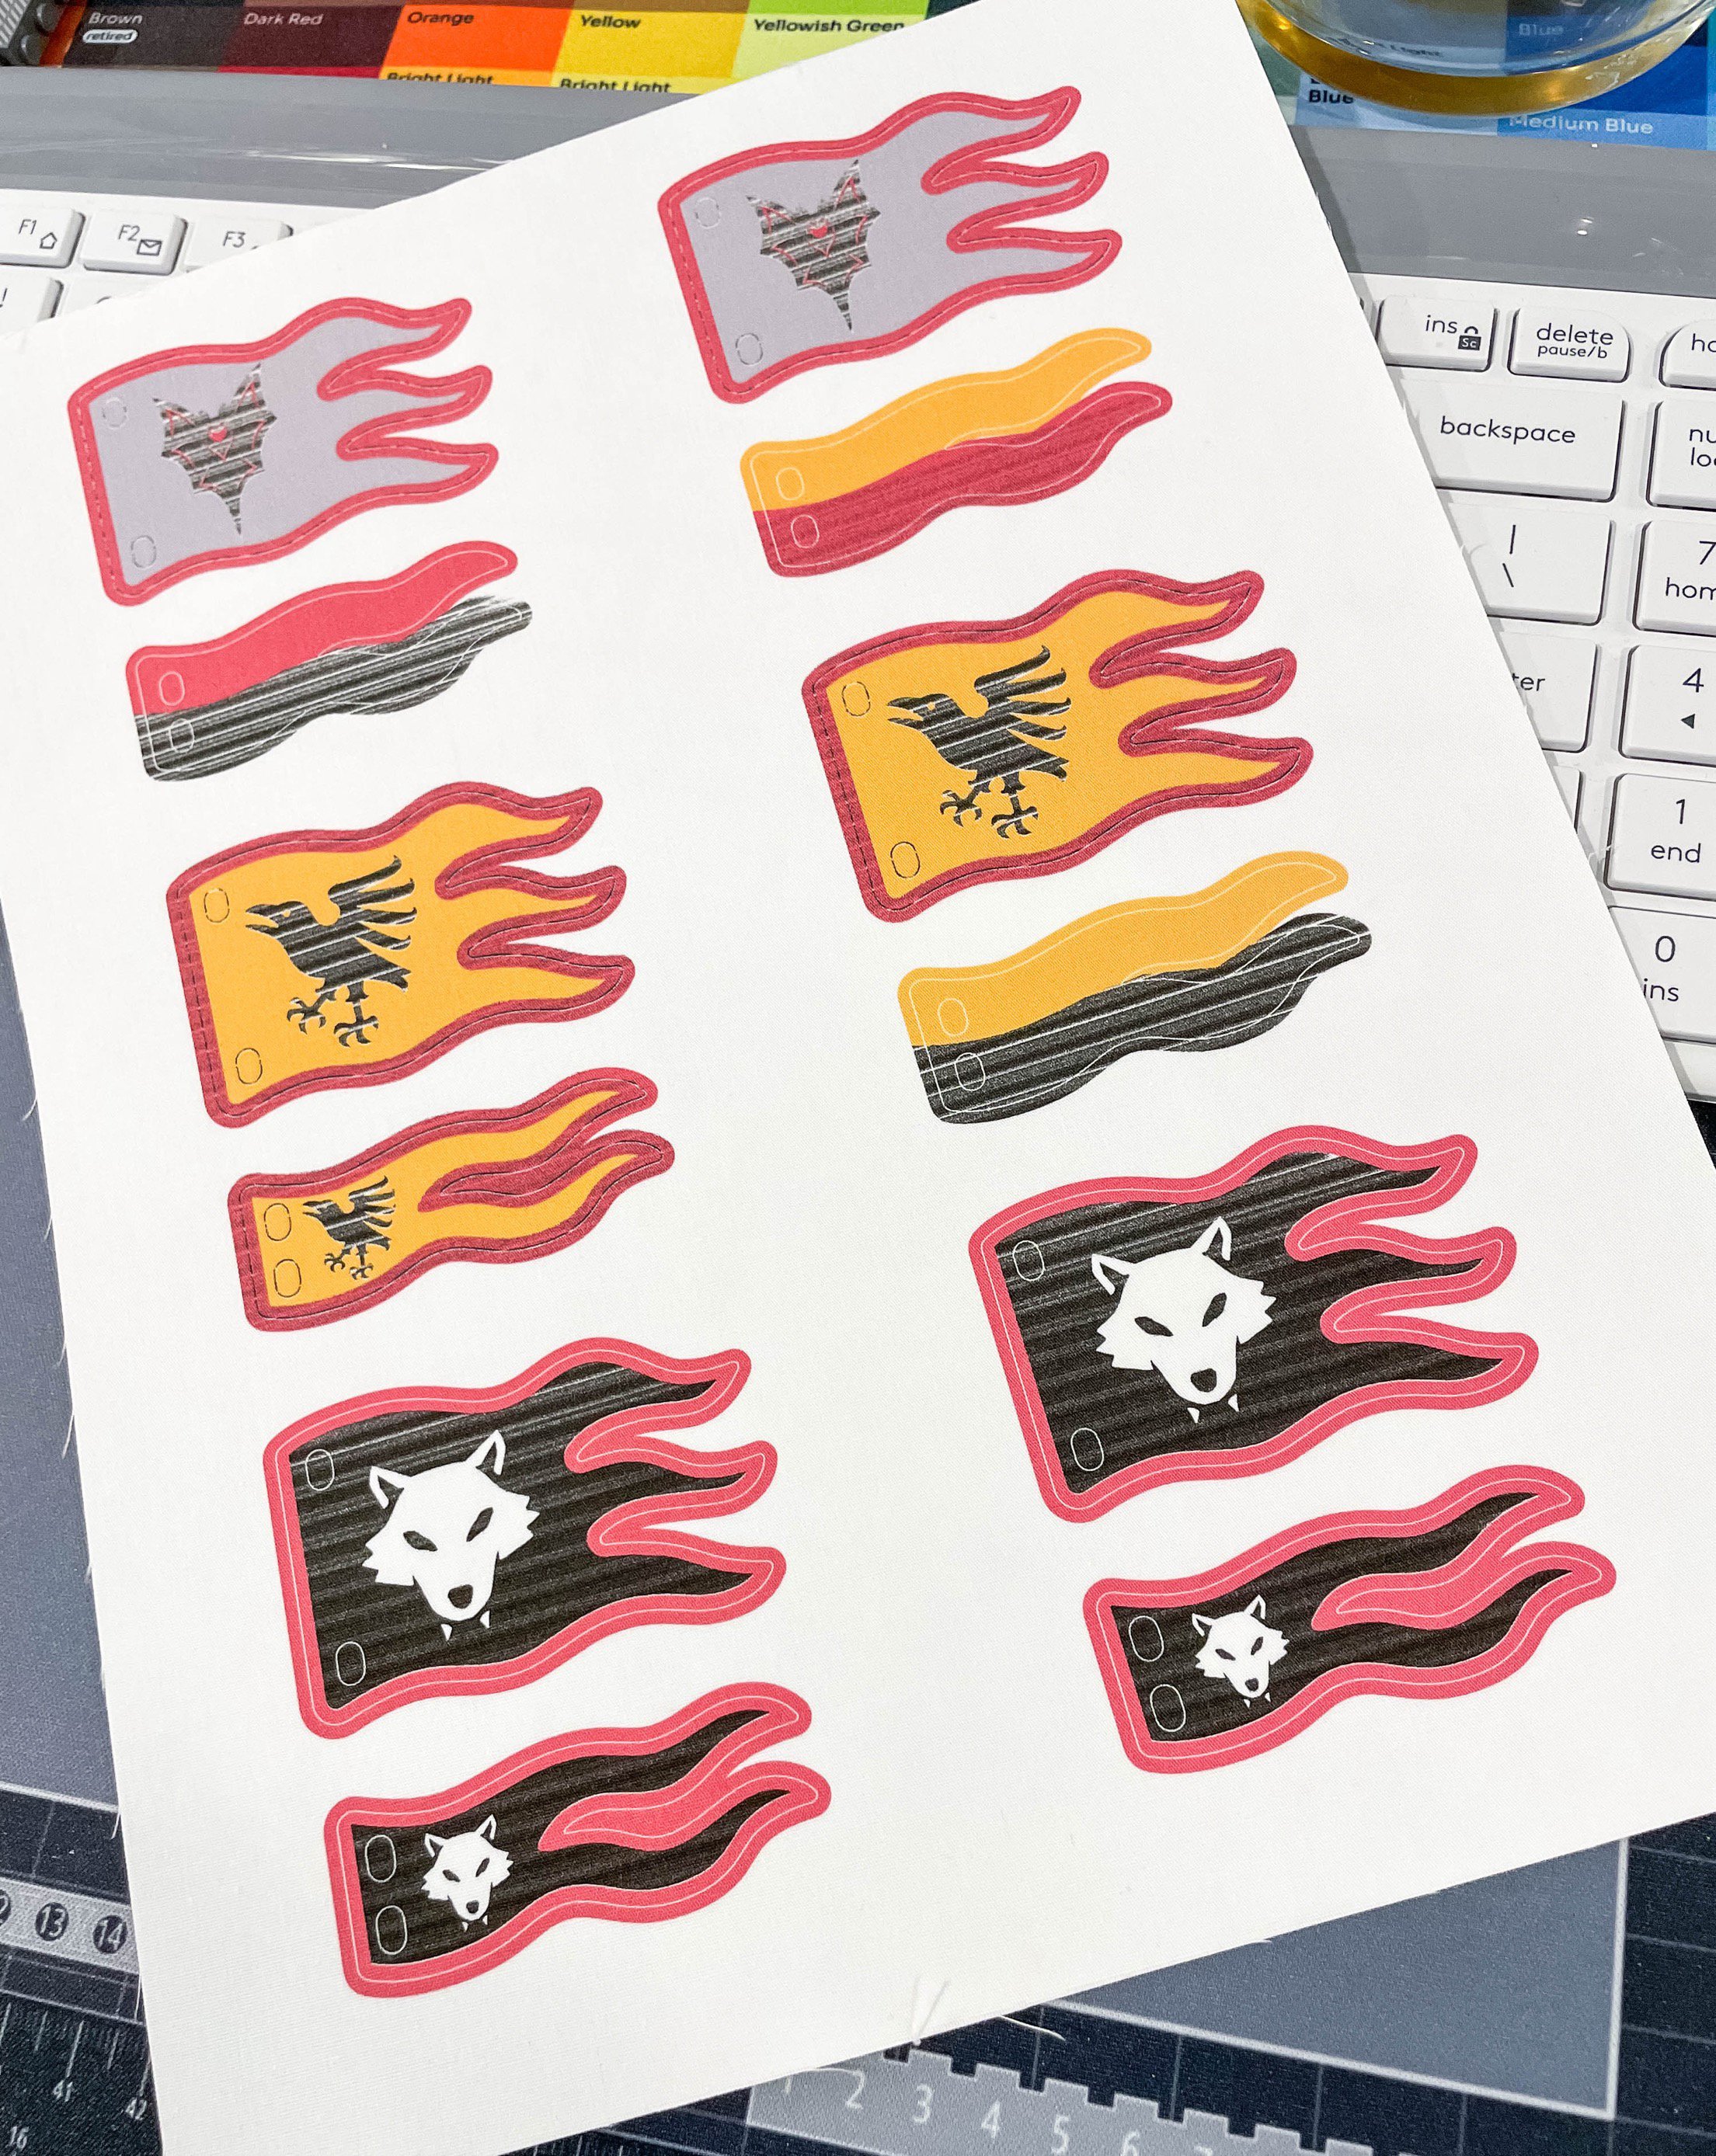
I didn’t need that many flags for Fright Knights, so I decided to make some other factions that I wanted as well, like Wolfpack and Ravens. The smaller flag would also be nice with some color blocking. As you can see below, test prints on paper of the tracing lined up with the real flags almost perfectly.
Printing Time
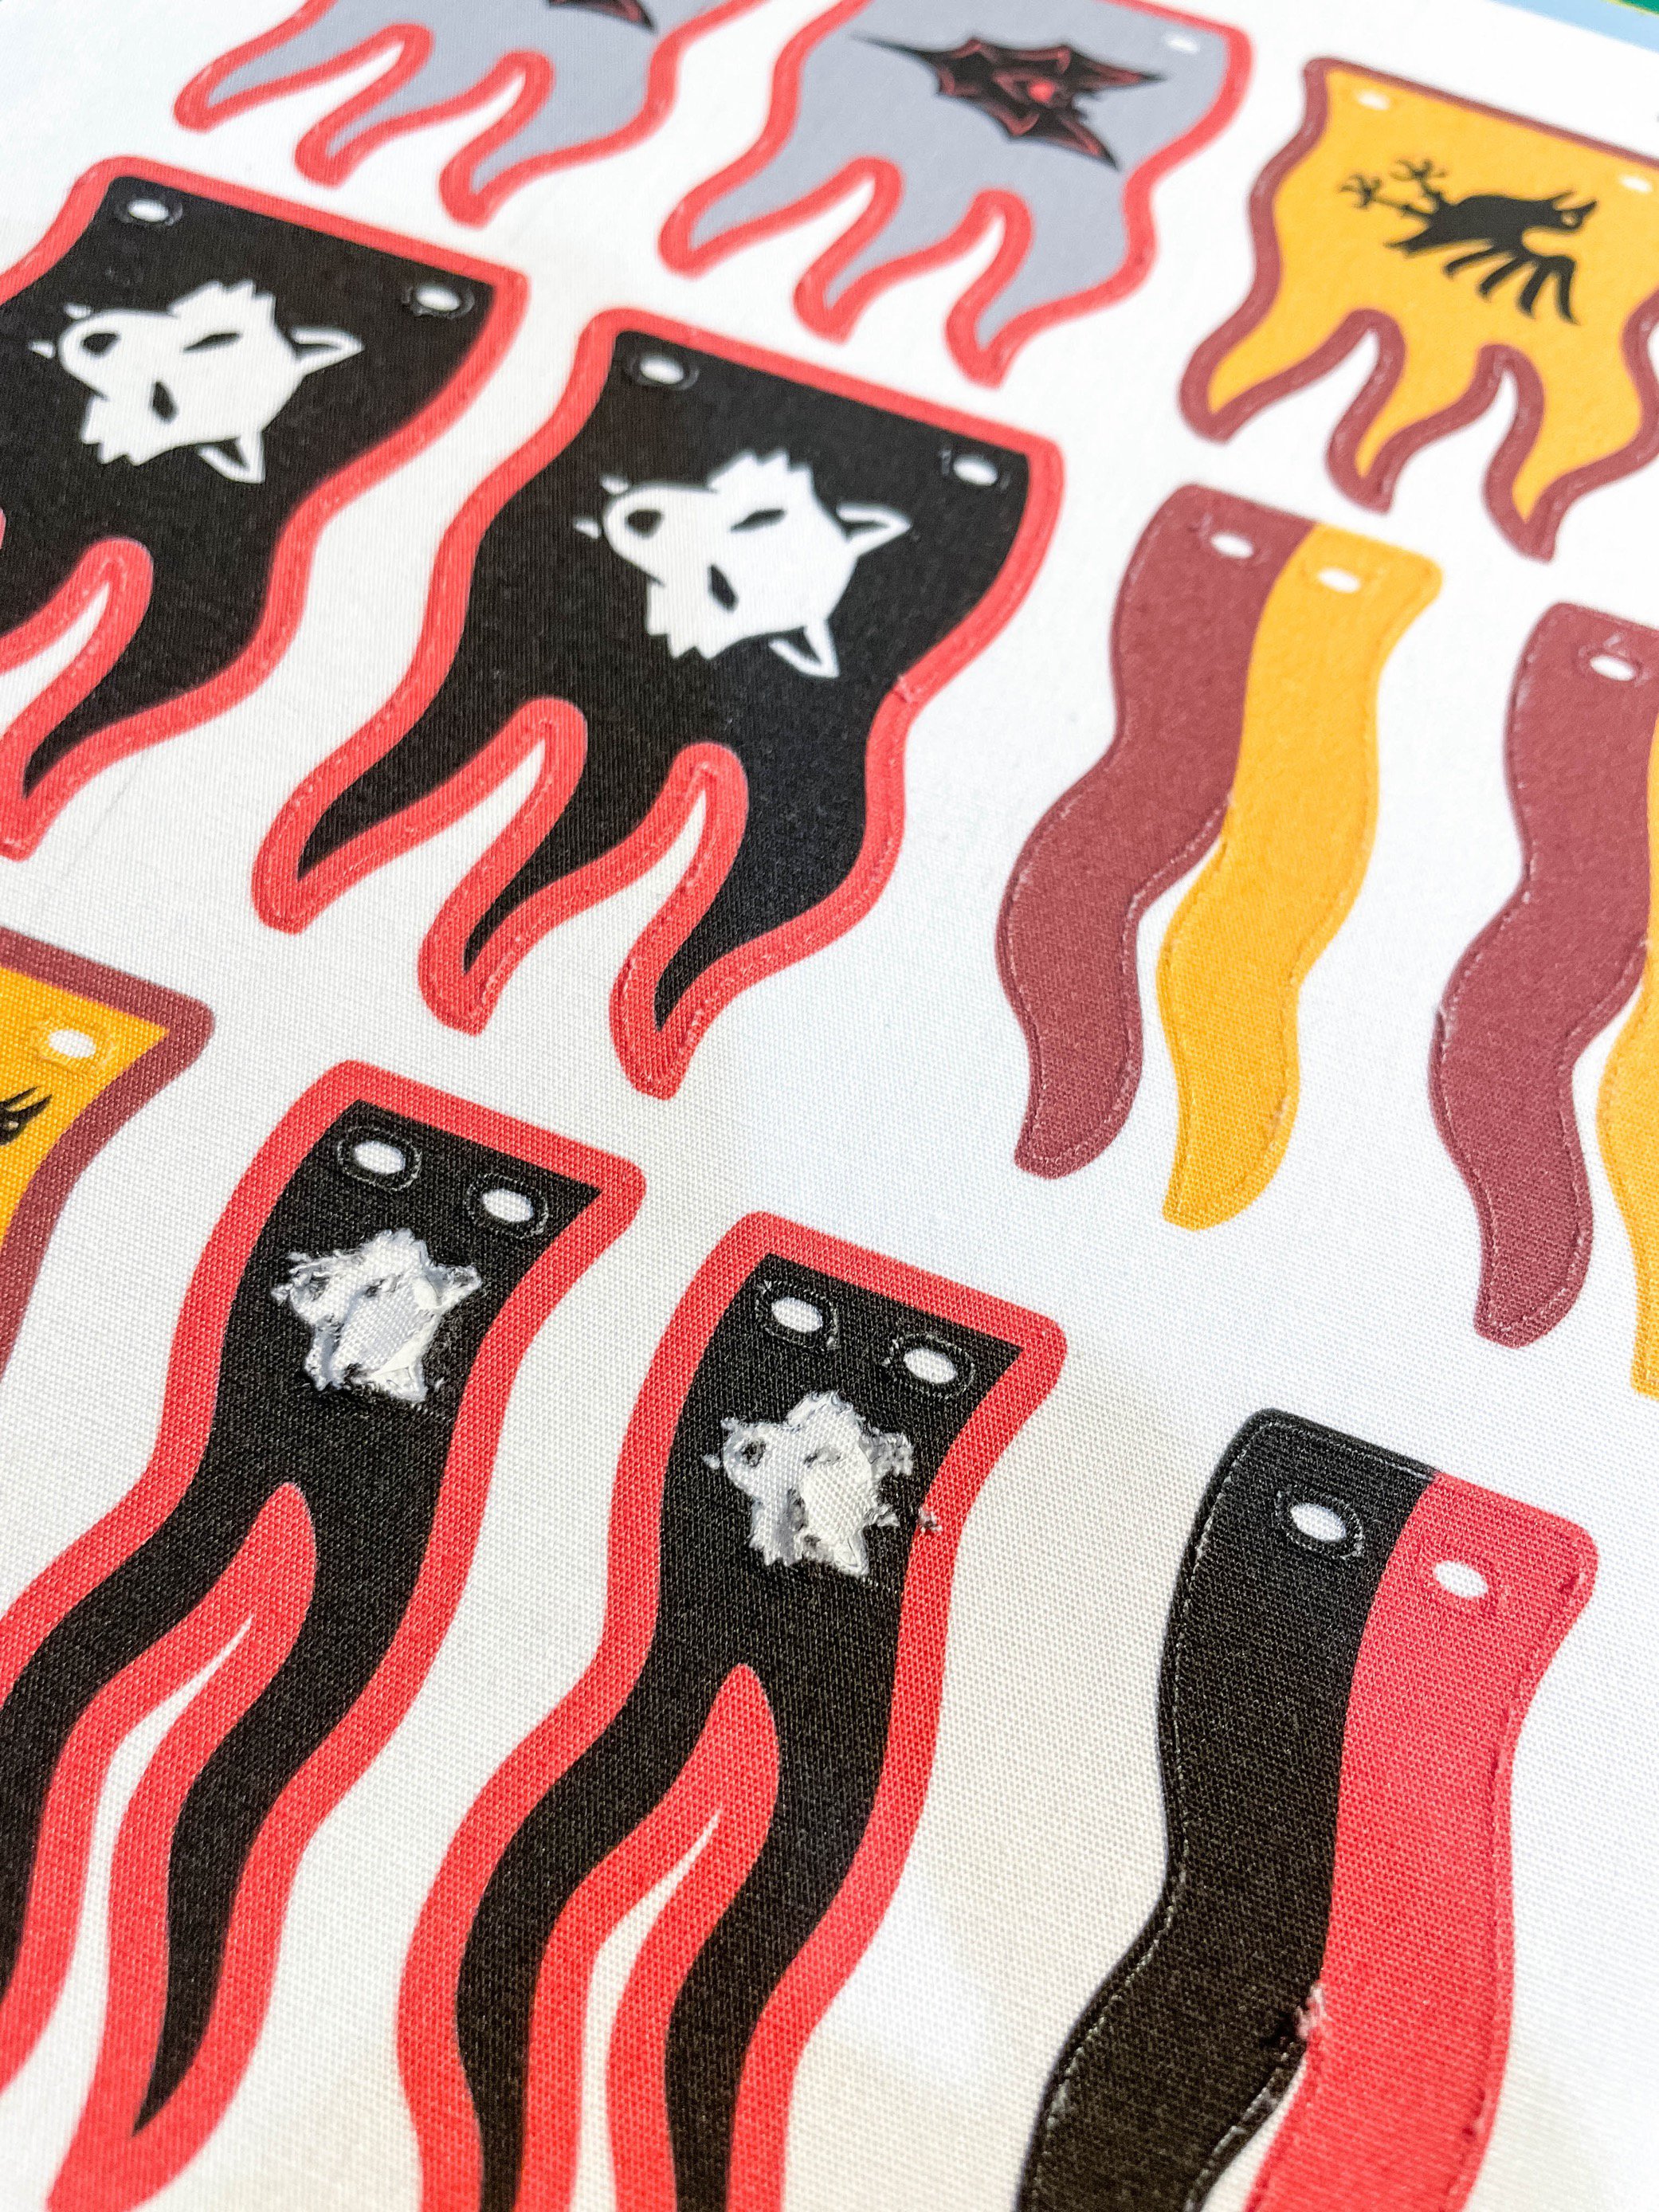
The moment of truth! I was ready to print on the fabric. I loaded a single sheet of the fabric paper in the printer (I just have a very simple HP desktop quite a few years old) and adjusted print settings for “best” quality. I did have one hiccup at the beginning with the black ink cartridge having some issues. But a simple swap for a new one fixed that.
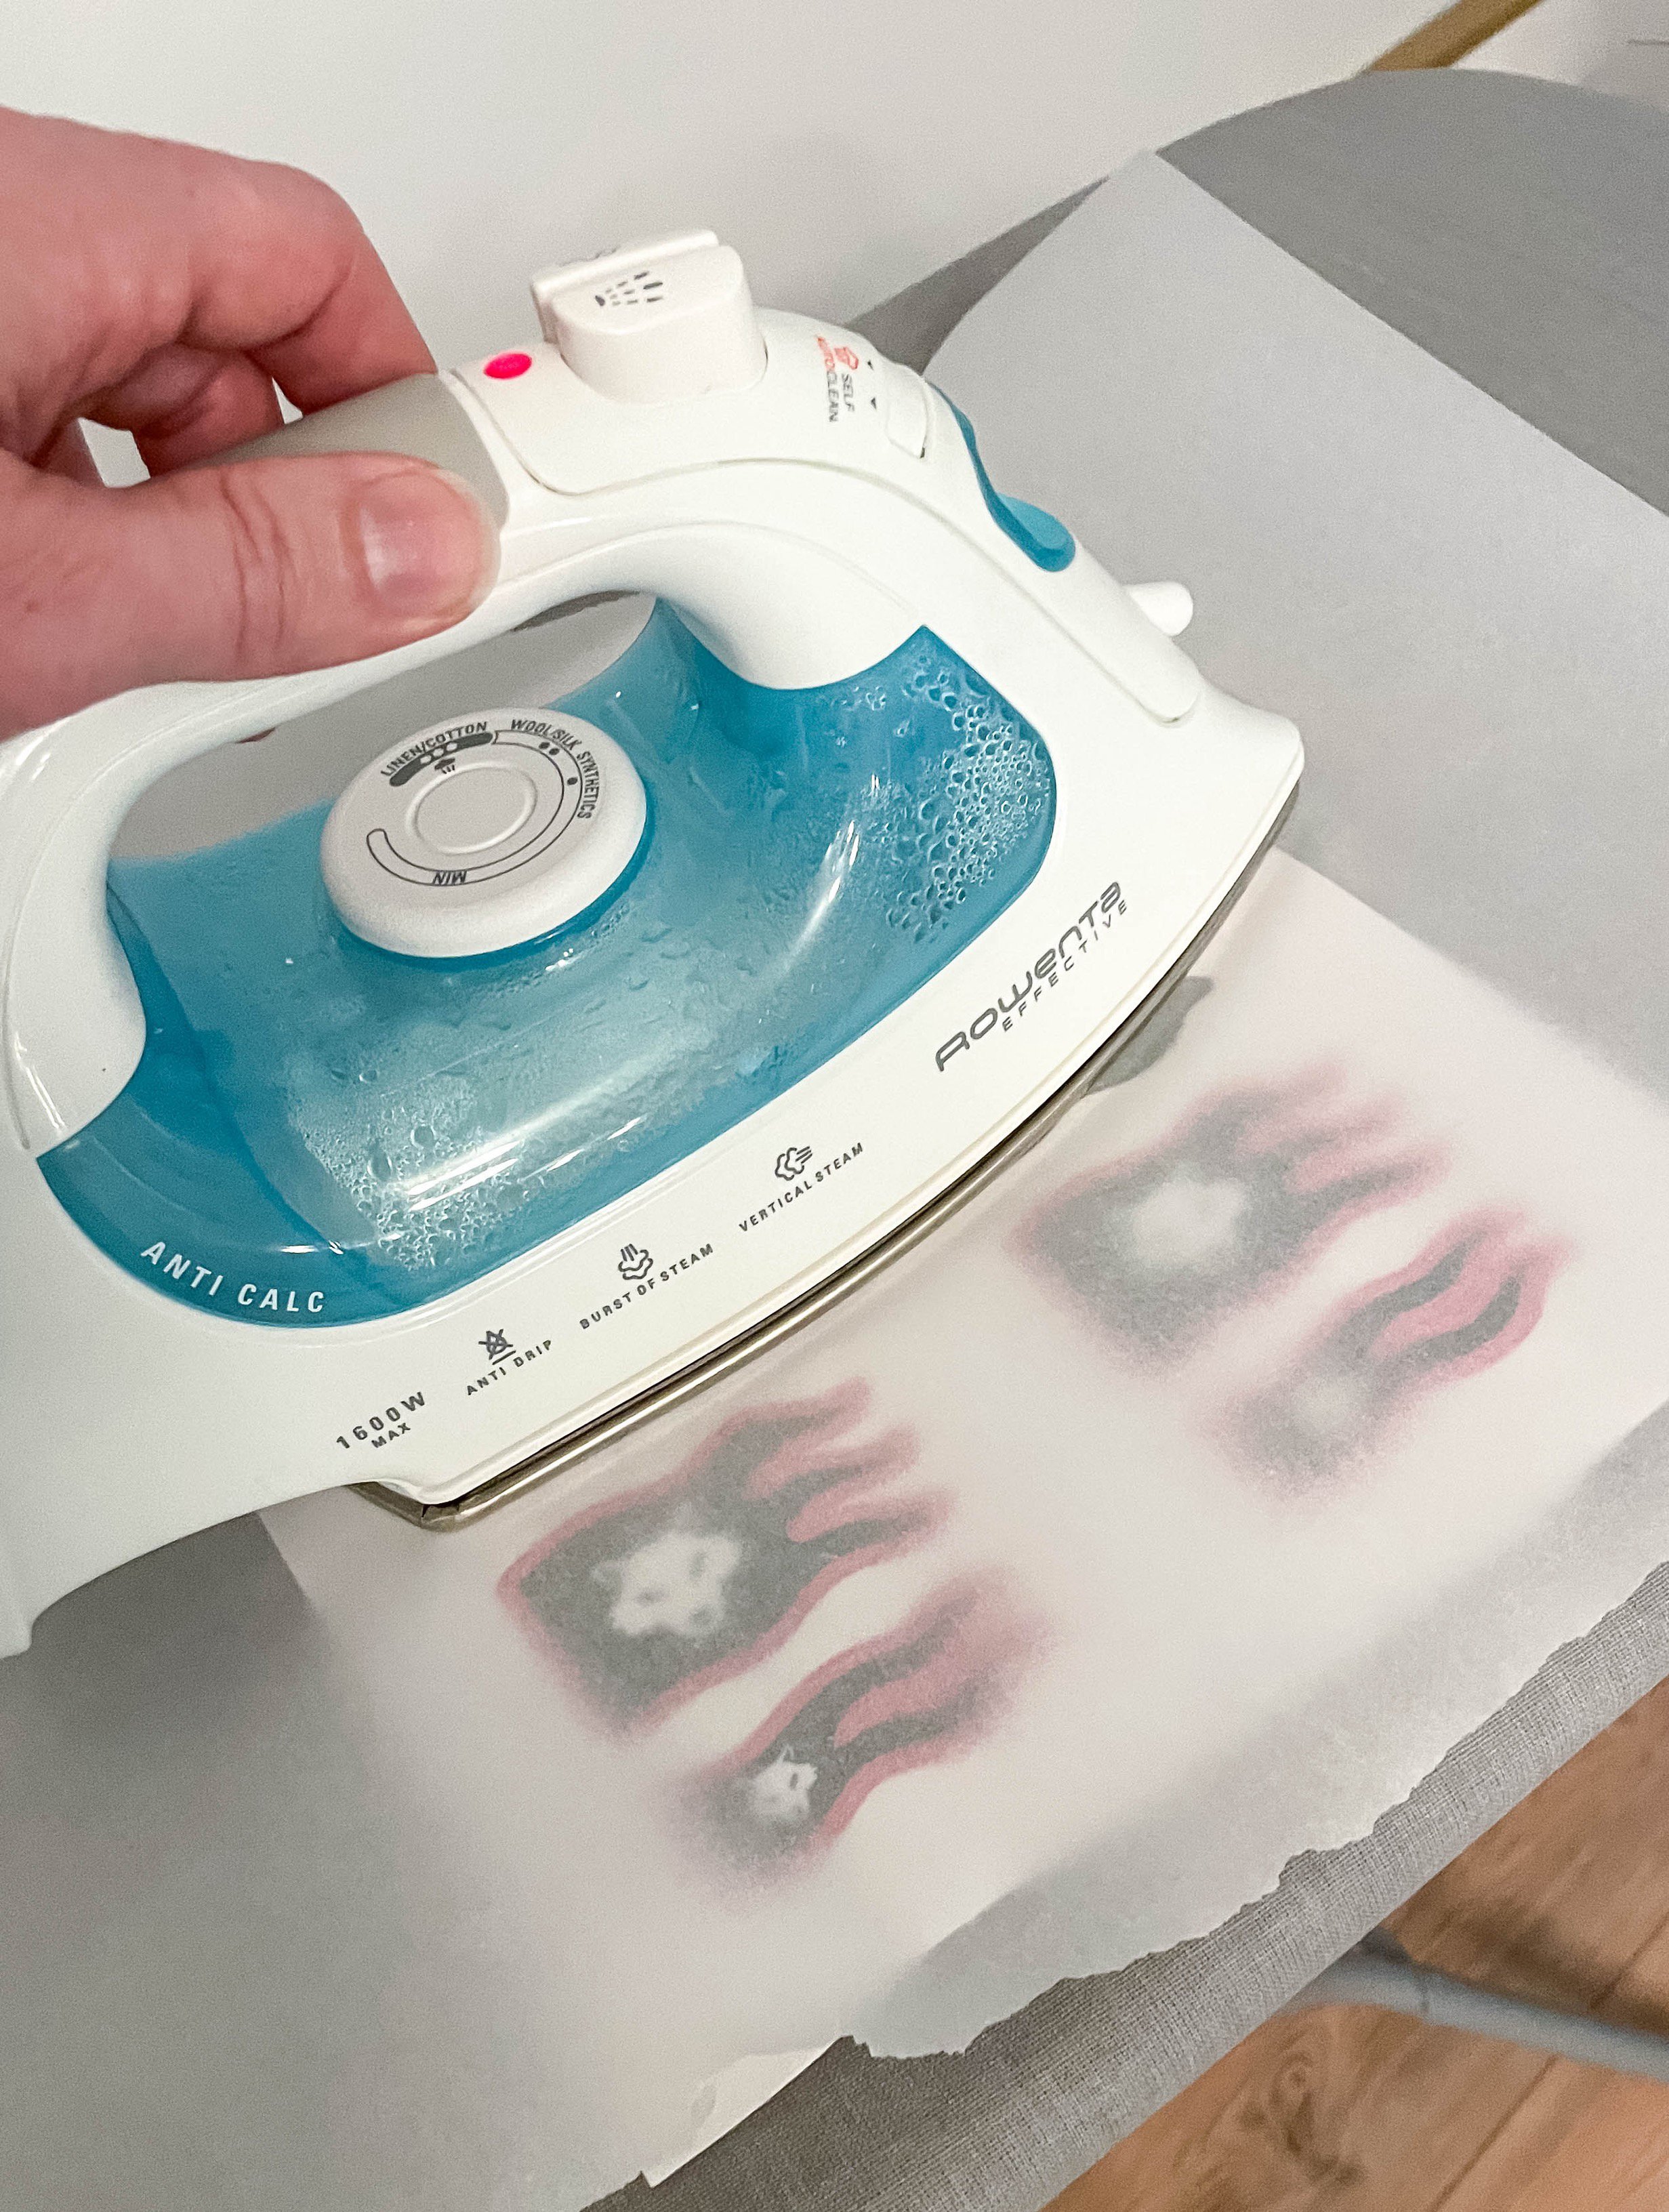
After printing, you need to coat the printed areas with the fabric stiffening spray. This was an experience for sure. Some I coated too much and it puddled, so I quickly learned you only need a light coating—perhaps a second light coat if needed. It does cause the sheet to curl so I ironed the page according to the directions on the package.
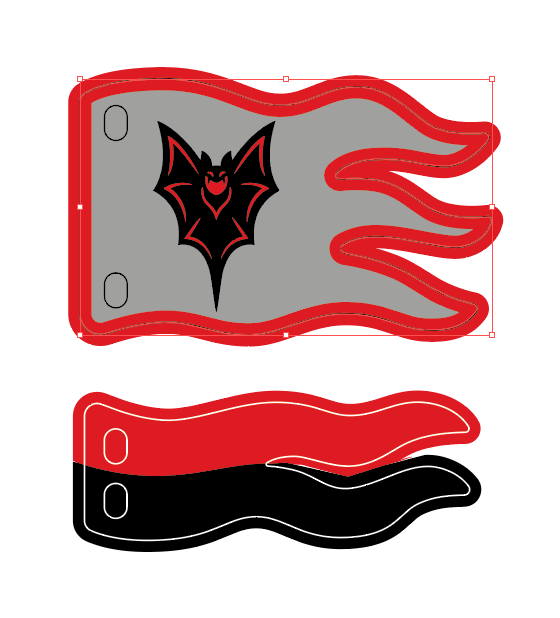
For this first test, I opted to hand-cut the flags with an Exacto knife, and you can see the result below with the Raven Knights flag. It was a very satisfying first result!

Let’s Go Further!
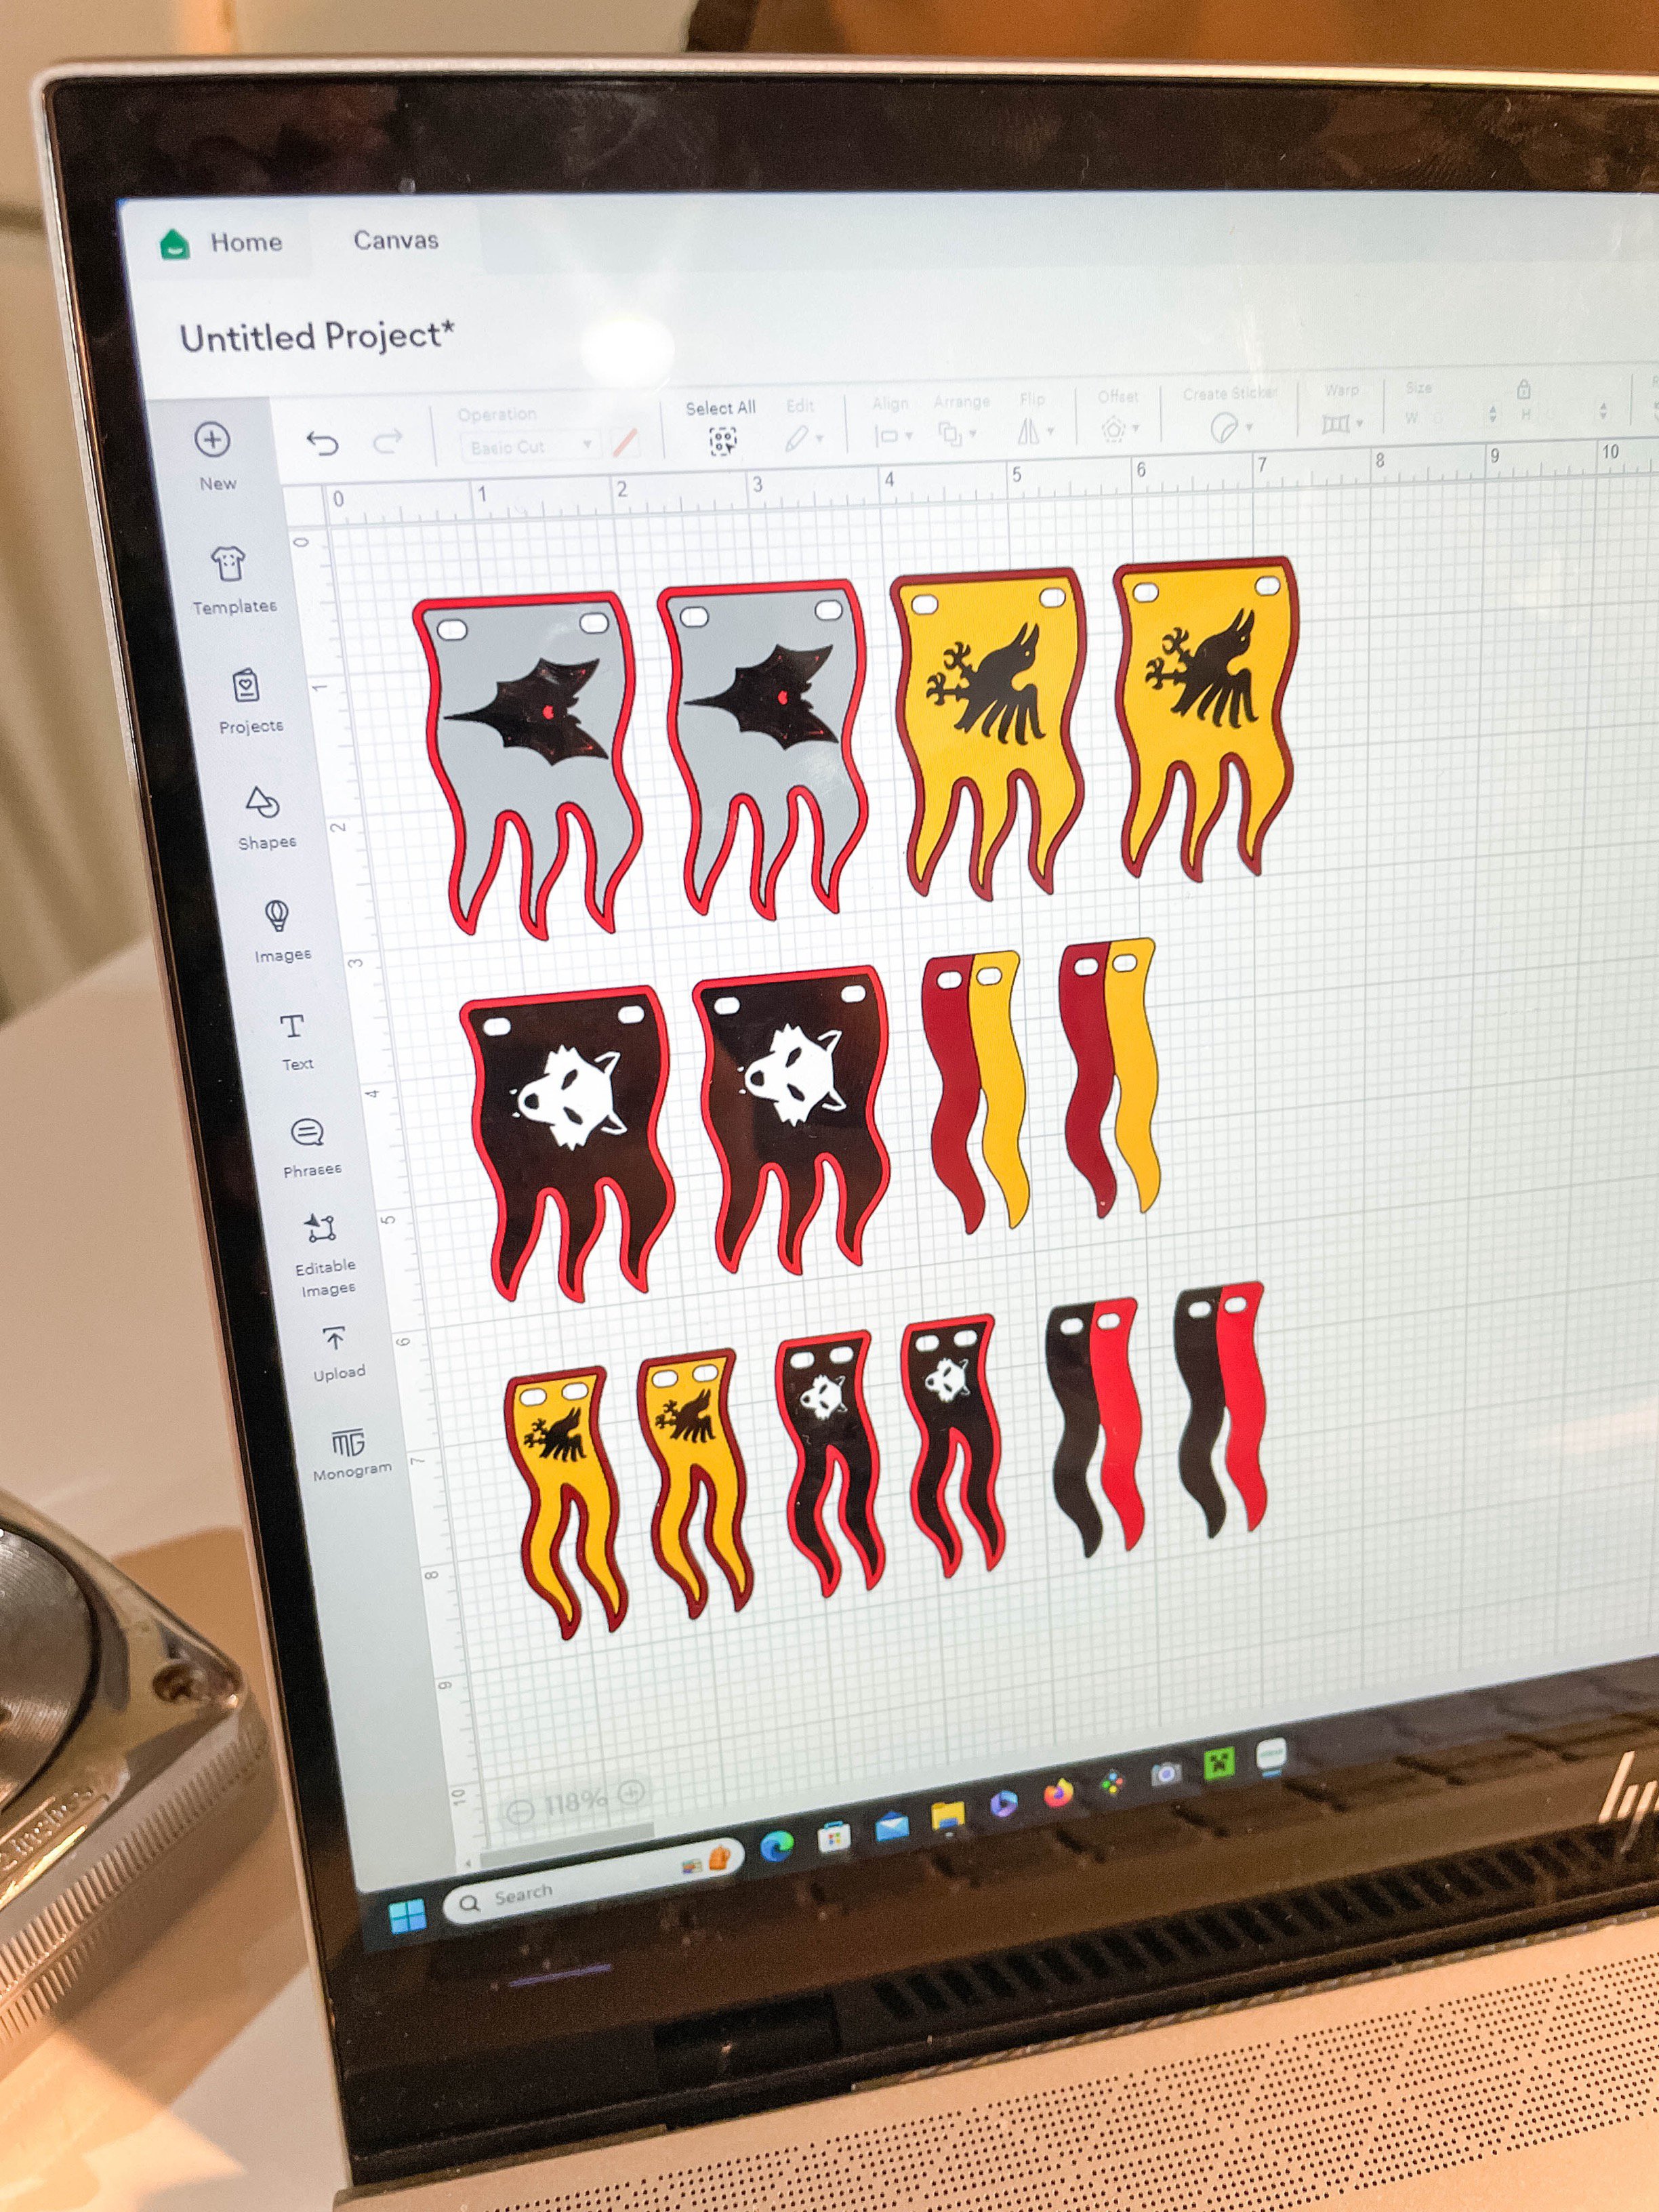
Why stop with hand-cutting? We happen to have a Cricut Maker at home (which gets very little use I might add) and I have also wanted to utilize that in my LEGO hobby. No better time than now!
This took some serious research as I had no idea how to use this thing! It was confusing for me especially because I have a background in package design utilizing Illustrator artwork for the die-lines (the lines where it is cut). But the Cricut does not exactly work that way. After much research on YouTube I had my file for the Cricut prepared, and the sheet loaded. What I discovered is you do not design what you want to cut with a bleed edge factored in, but rather add the bleed in the print settings of the “print and cut” process through the Cricut.
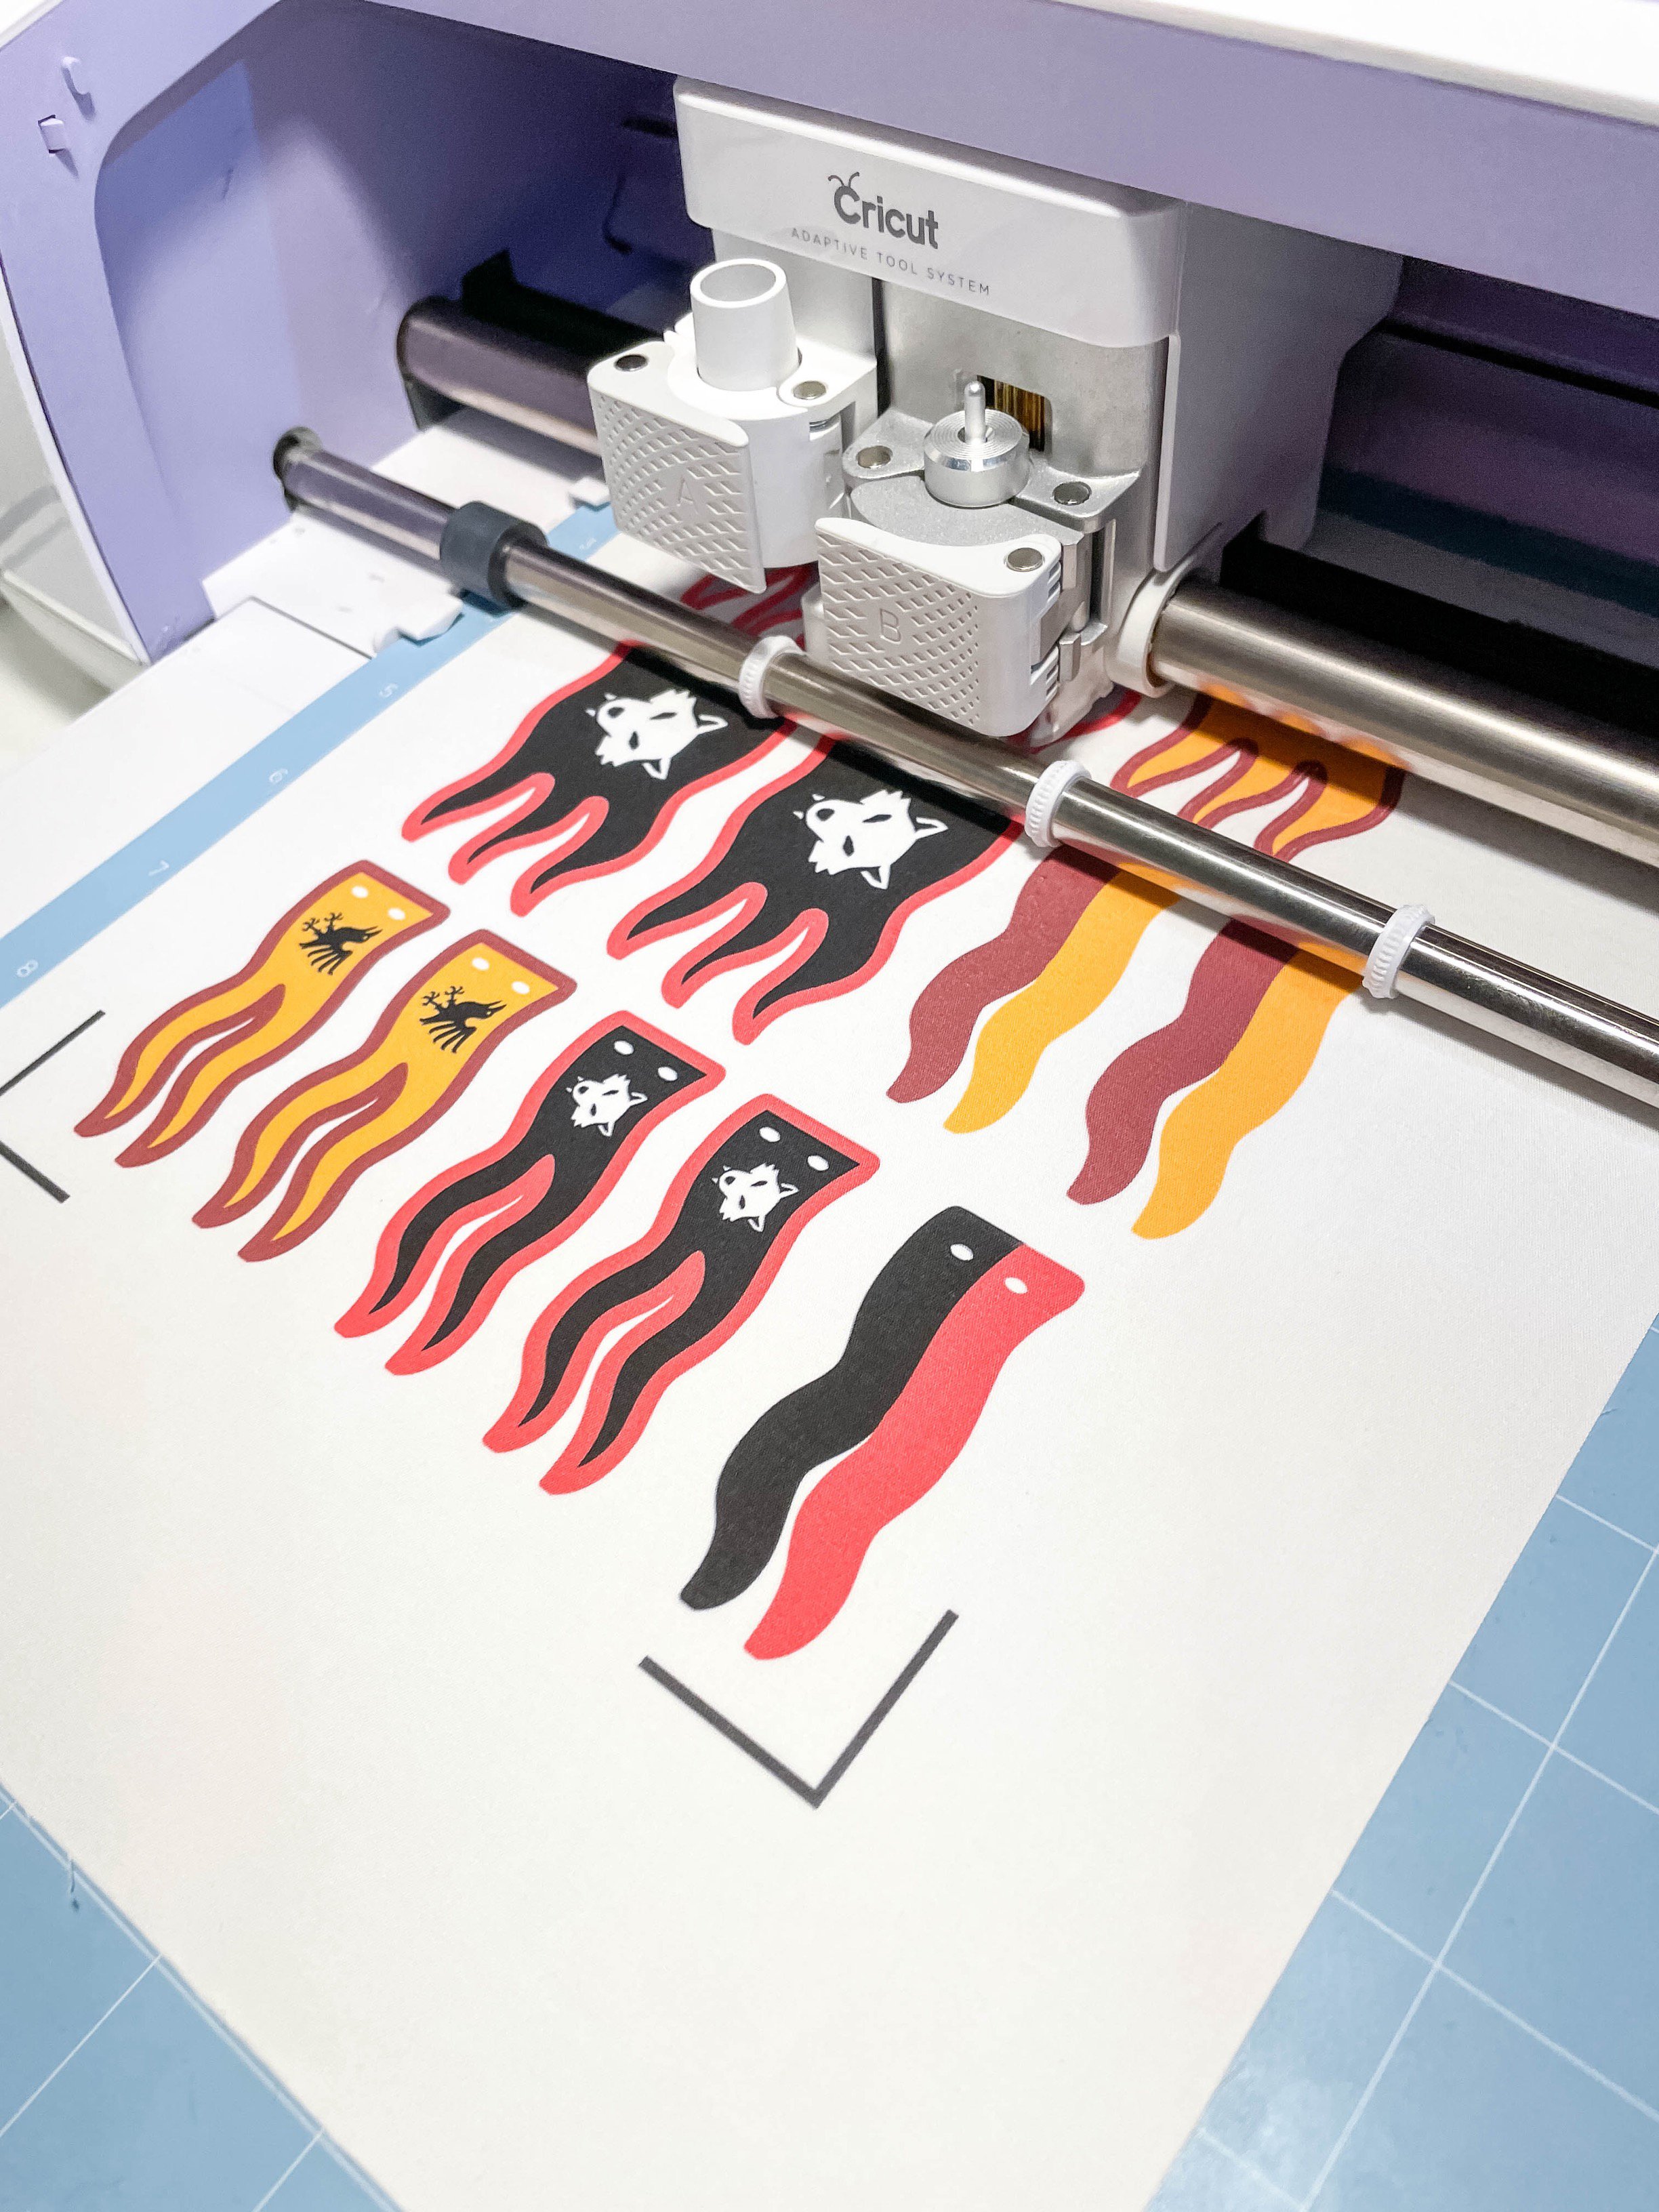

The first time was mostly a success but with a few issues to work out. The main mistake I made was cutting the fabric sheet before applying the stiffening spray. This caused the fabric to fray just a tad when cutting, and also made it very tricky to iron the flags after spraying. I have not had time to test it yet but I assume spraying the print first and ironing, then cutting on the Cricut, should solve this issue.
Flying the Banner
Ultimately you can see it resulted in some great flags that are perfect for my use! I hope you enjoyed learning how to get started. Personally it was a ton of fun for me, and my kids also really enjoyed watching and learning.
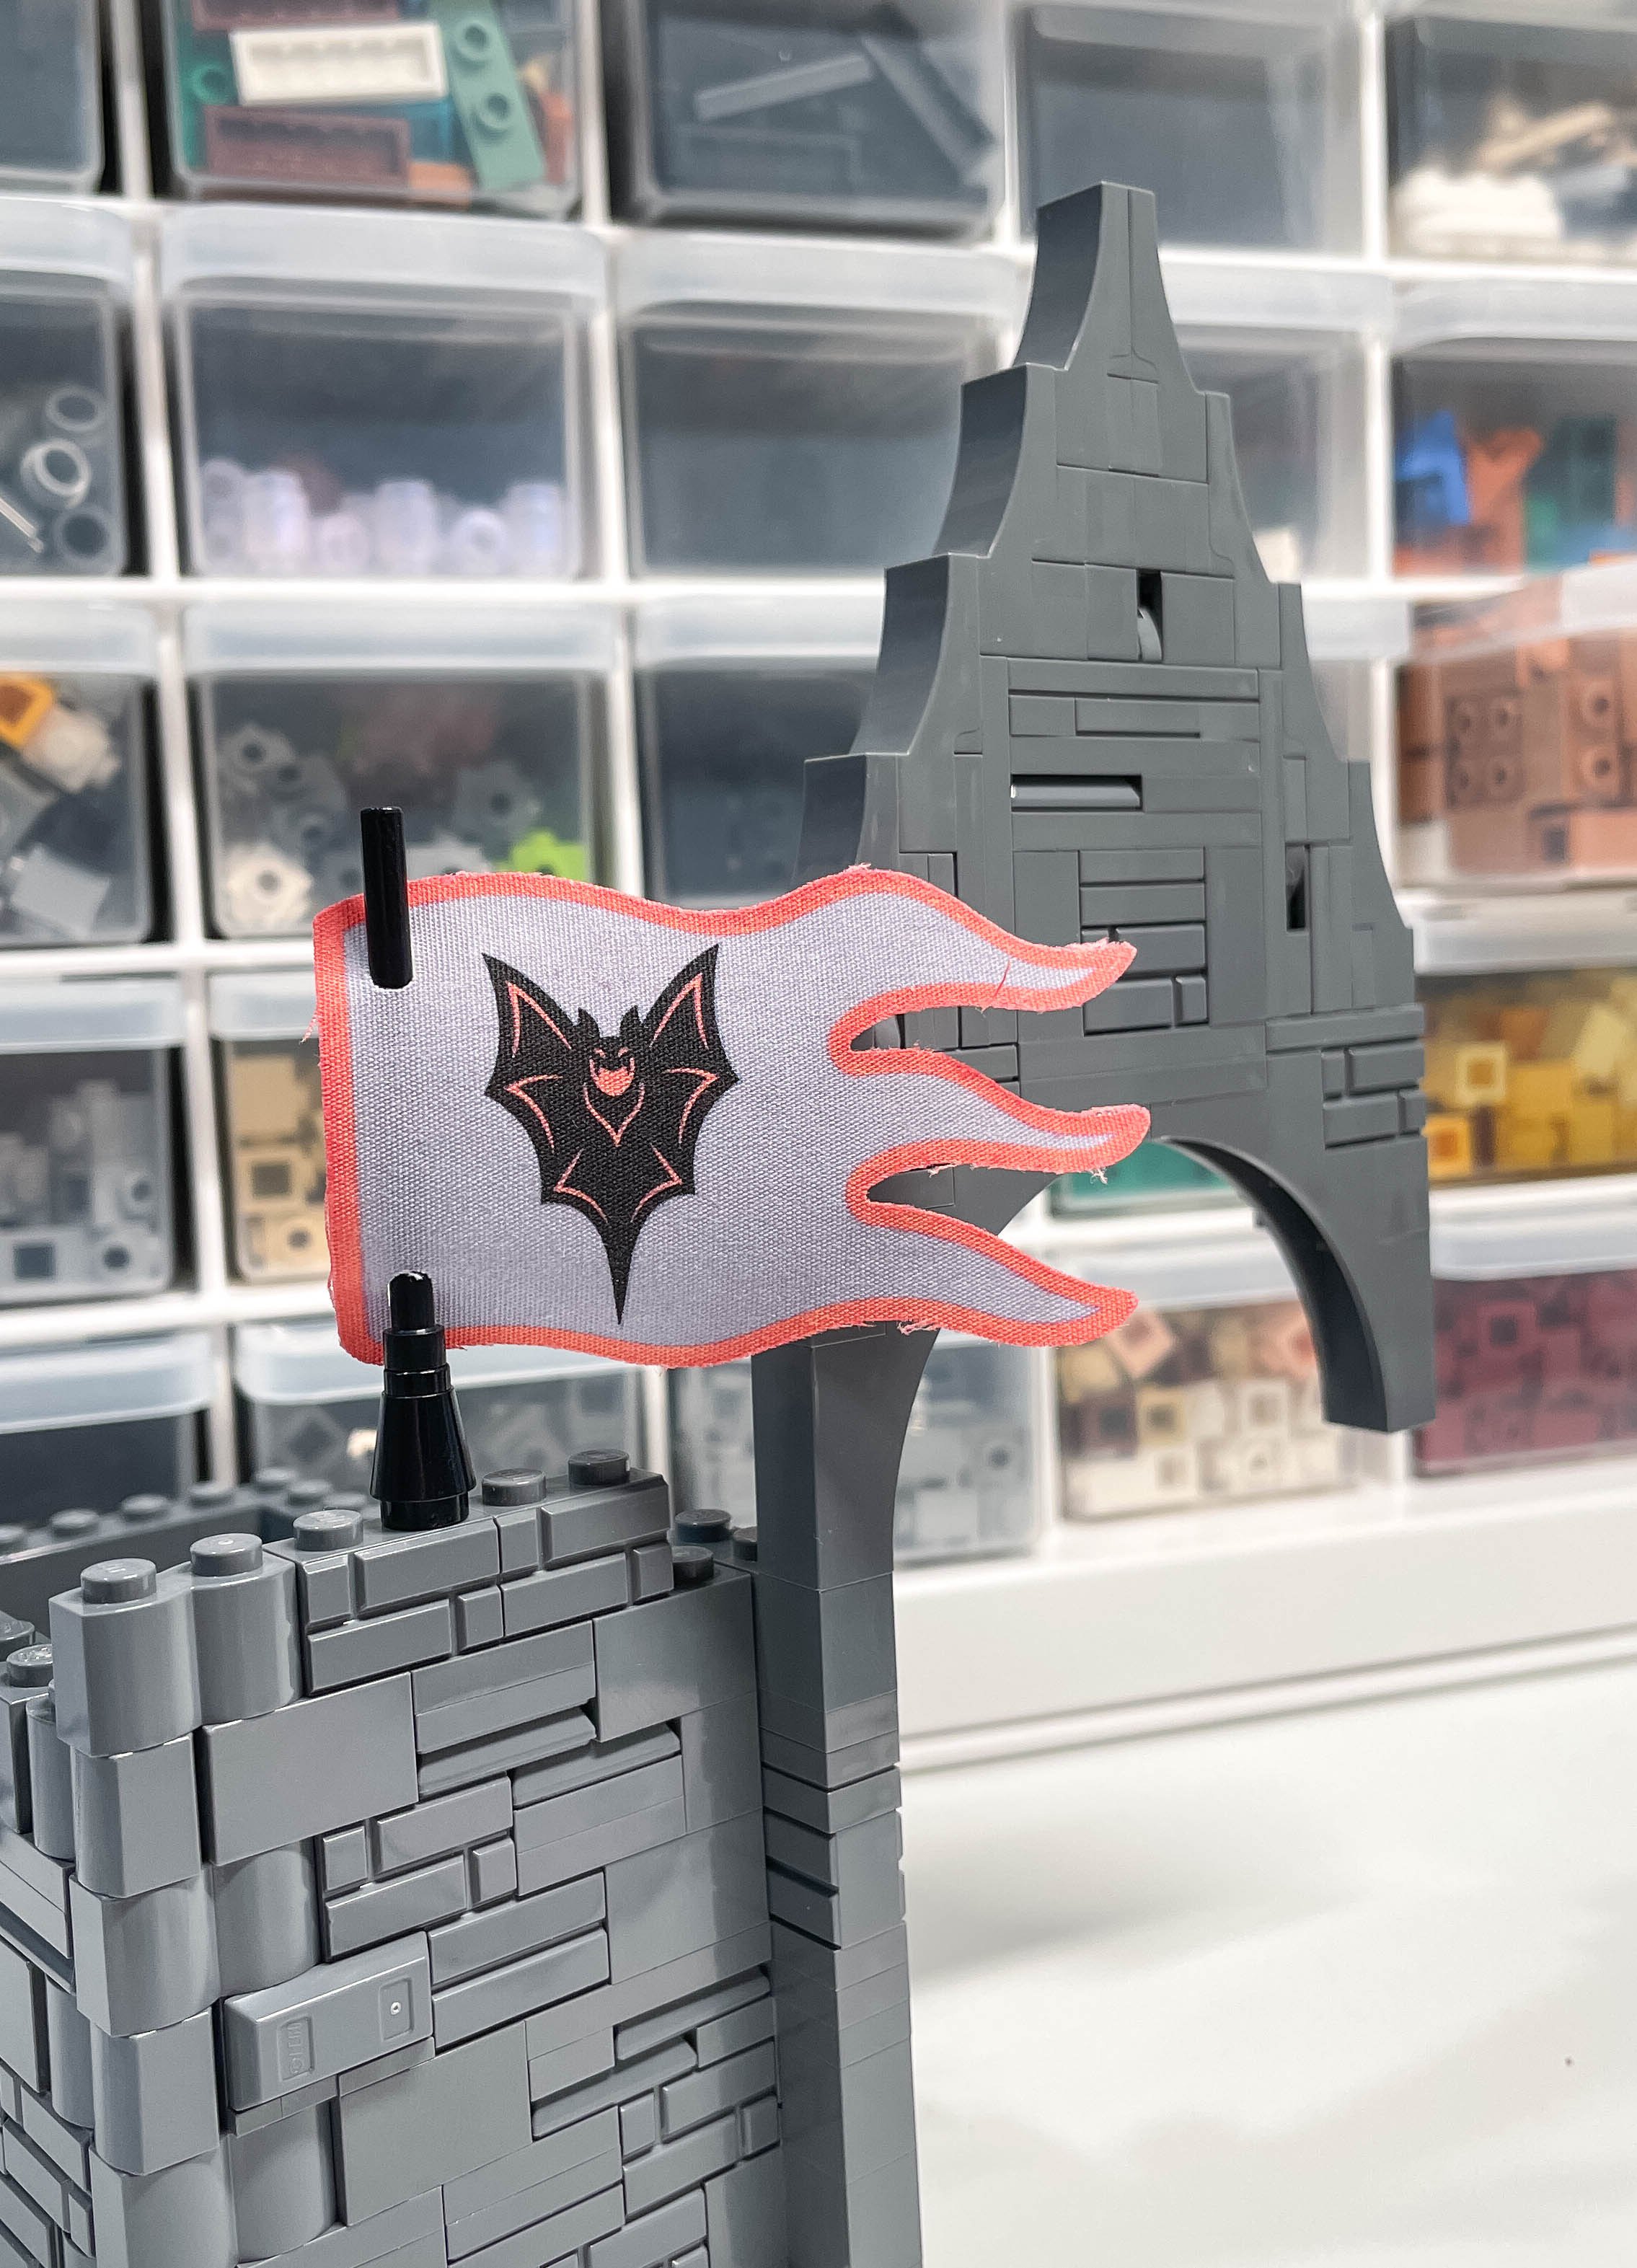
Fright Knight flag cut on my Cricut - Work in progress castle
The flags really do feel almost identical to the version that LEGO produces. The Poplin is a bit larger weave than the current flags though, yet identical to the older flags produced. I would love to hear from you if you decide to give this a try!
To help you get started, here are a few files that I used in this project. They are provided under Creative Commons CC BY-NC-SA 4.0—meaning you can use and adapt them for your own use but not use them for commercial purposes. Have fun!
What do you want us to try printing next? Let us know in the comments below!
Do you want to help BrickNerd continue publishing articles like this one? Become a top patron like Charlie Stephens, Marc & Liz Puleo, Paige Mueller, Rob Klingberg from Brickstuff, John & Joshua Hanlon from Beyond the Brick, Megan Lum, Andy Price, Lukas Kurth from StoneWars, Wayne Tyler, Monica Innis, Dan Church, and Roxanne Baxter to show your support, get early access, exclusive swag and more.


